I’m not known for the cleanliness of my workspaces; my office desk is a mess right now, my garage workbench is a mess, as are my other workbenches.
But my electronics one is messy enough to be problematic, and the root problem is that there’s just too much stuff one the workbench; power supply, oscilloscope, toolbox, solder station, hot air rework station all take up a lot of space, and the work surface doesn’t have lot of depth, so I end up with a small clear workspace even without clutter.
A while back I was looking at my Rigol scope, and thought that I might have more room if I could mount it on the wall. And that obliquely led me to the current project.
I’ve been watching some woodworking on YouTube, and that led me to a series on french cleat walls. They are pretty popular for woodworking shops as they keep all of their tools handy. Looking at my garage space – where I do some woodworking-adjacent projects – I don’t have a lot of wall room for one of these, and most of projects I do occur elsewhere, so I wanted to keep my tools in their boxes. Not a great solution there.
But that triggered a thought about my electronics space; I don’t move my tools around and I could use the organization.
So I went looking in my garage and found that I had some leftover 12mm baltic birch plywood from another project, and I acquired some 2×3 pine for the cleats.
Making the cleat wall is pretty simple; you just cut your cleats wood at a 45 degree angle and then attach it to the plywood using a regular spacing. If you want details, here’s a video I did of the process:
I took the wall down to my workbench and attached it to the wall. Then it was time to start figuring out how to attach items to the wall; this is generally some sort of shelf or box with the mounting tabs that hook onto the cleat. First up was the oscilloscope, partly because it was big and partly because it was straightforward to design.
Oscilloscope Shelf
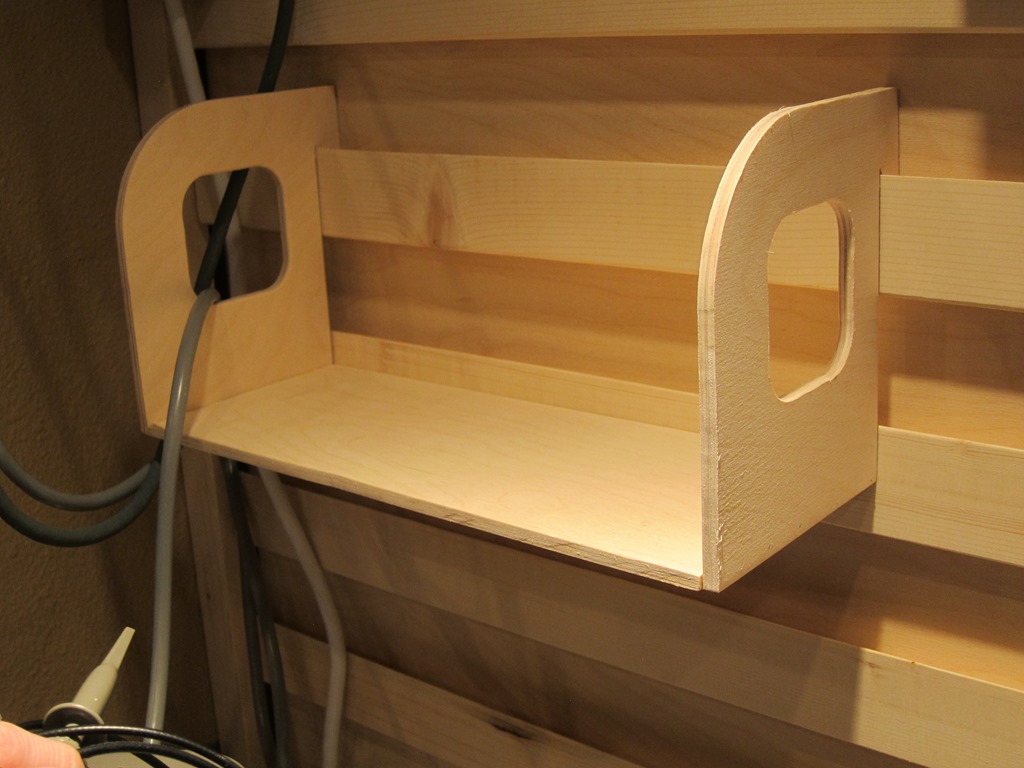
It’s simple enough that I could have just created a mock-up in cardboard and then used that to create the actual version, but I wanted to play a little, so I did a full CAD design. It was a pretty quick design in Fusion 360 and I’d show you a nice rendered version, but somehow it didn’t get saved along the way. Here’s what the side panel of the shelf looks like; the hole in the end is for the power cord at one end and the cooling fan at the other, and the left part hangs off the cleat:
Pro tip: The 1x stock you buy may not be exactly 3/4” thick; mine was 11/16” instead. So measure it first; for this shelf I had do sand down the back edge of the cleat.
The bottom shelf is just that, a rectangular piece of wood between the end pieces.
As a material I used some 1/4” baltic birch (probably 6mm actually), and I decided to use my Shaper Origin to make the shelf. It is held together with wood glue and some very thin wire pins shot in witn my pin nailer. Here’s the video if you want the details:
The result is nice and pretty, though I didn’t sweat trying to get things perfect; it’s not furniture:
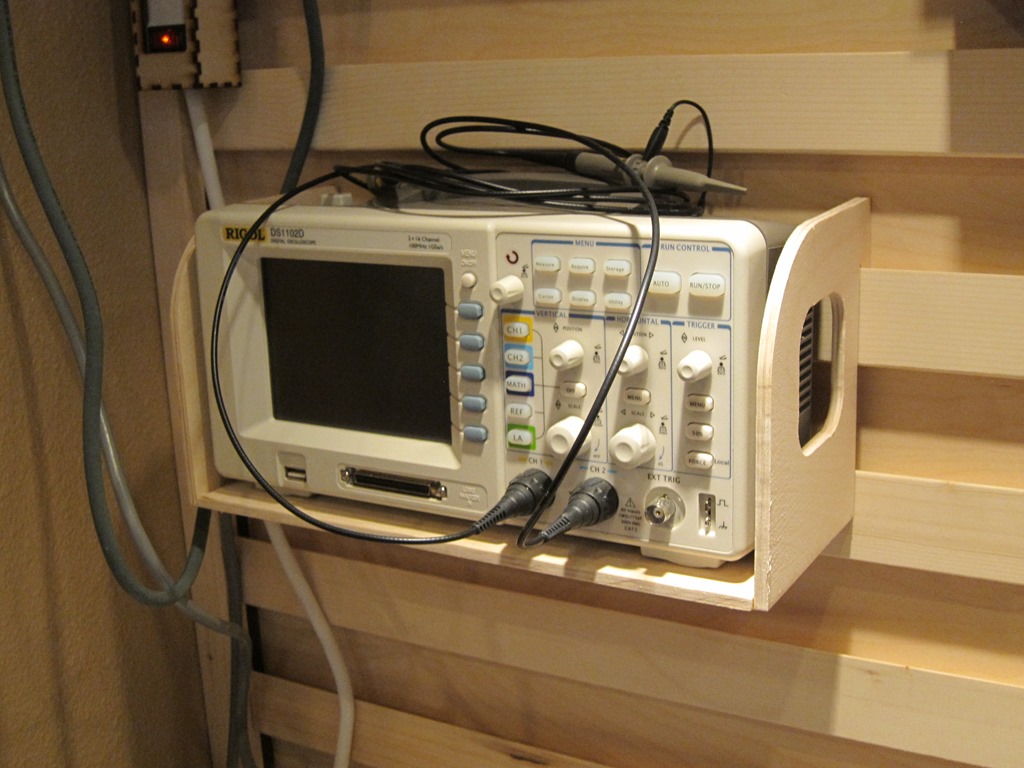
Because of the way the cleats are designed, gravity pulls the mounting cleat both against the wall cleat and the wall plywood, and the back of the shelf presses against the second cleat. It’s surprisingly secure and yet very easy to move around.
About the time I was finishing this, I said to myself, “Self, that was fun and you made a lot of sawdust, but there’s nothing in that design that you couldn’t have done much quicker and easier with your laser cutter, so at this point I switched tools.
XBox 360 Power supply box
When I added a heated bed to my 3D printer, I bought an XBox 360 power supply to power it, and I found that they are wonderful for powering 12V loads; the ones I have provide up to 16 amps of power. So I bought a second one from Goodwill for $4.95 and have used it when I need a hefty supply for testing (like my WS2811 expander which I stress test with 3 50-watt 12v light bulbs). Cheap, compact, and lots of cheap power – what’s not to like.
Well, I don’t like that it’s cluttering up my workbench, so I’m going to build a box for it.
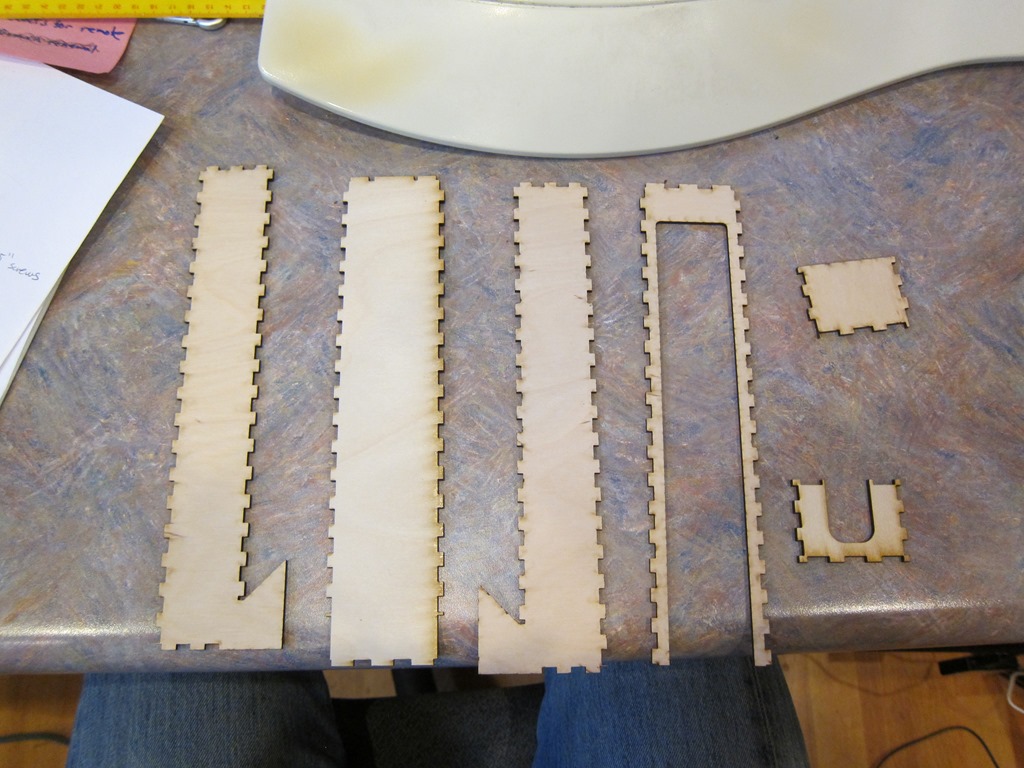
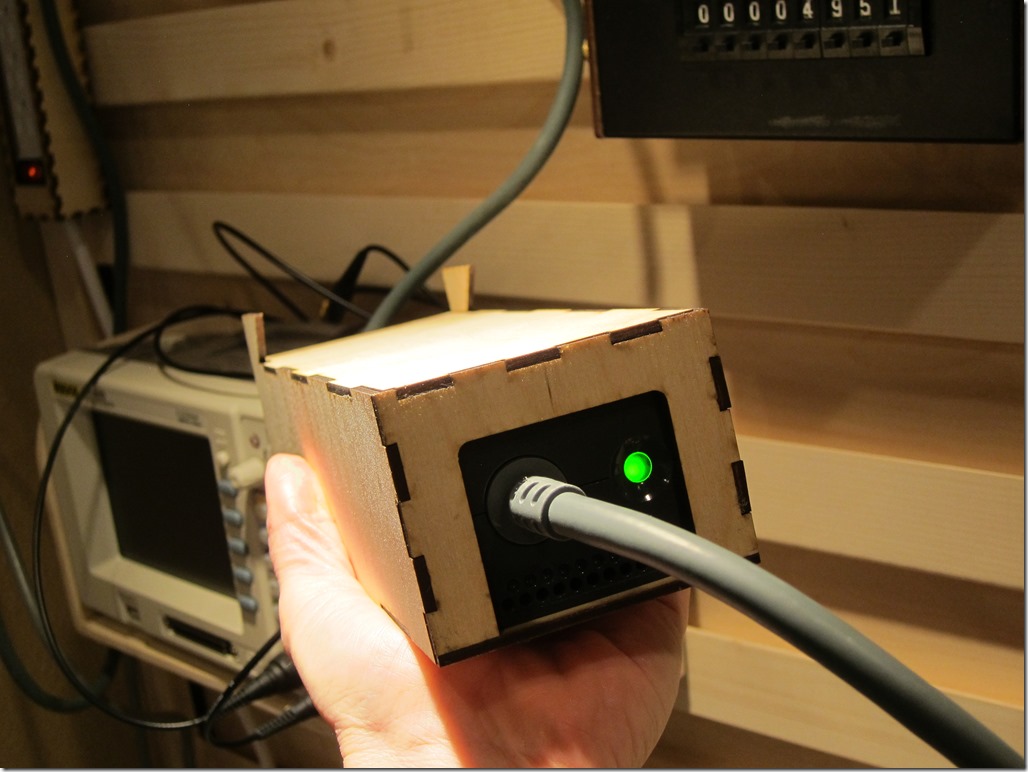
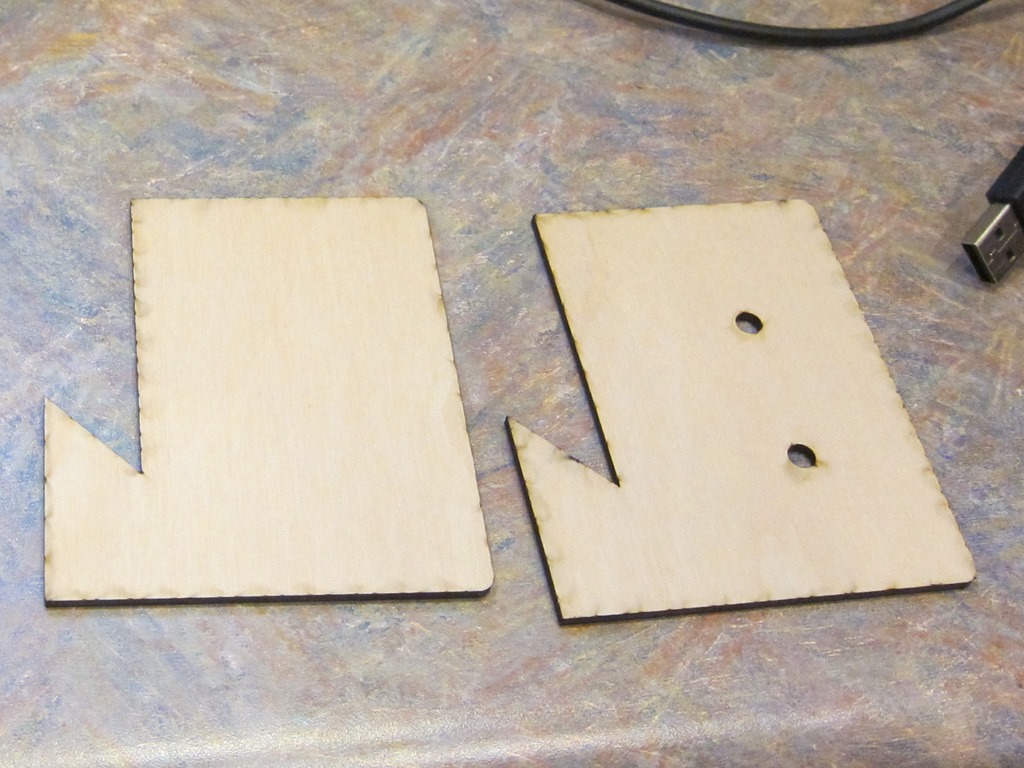
Here’s the CAD design, the laser-cut parts, and the final result. It’s cut out of 0.10” (2.5mm?) plywood that is strong and easy to cut on the laser (mine’s a GlowForge) and then glued together with wood glue.
I measured the power supply with my calipers and it ended up just on the tight side; the power supply slides in but barely. The big cutout for the close end is because there are air holes there.
The other end of the cable currently just has a set of speaker terminals that accept banana plugs and the enable wires soldered together so it’s always on. Sometimes in the future, that cables going to terminate in a power-supply box with an on off switch.
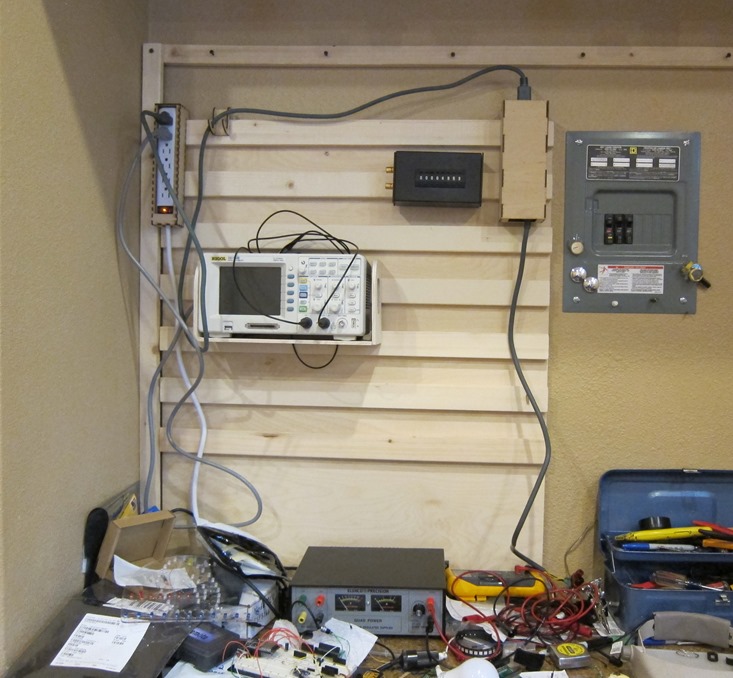
The xbox power supply hangs up high. And now I need a place to plug it in as the cord isn’t long enough to reach to the outlet under the workbench.
Power strip box
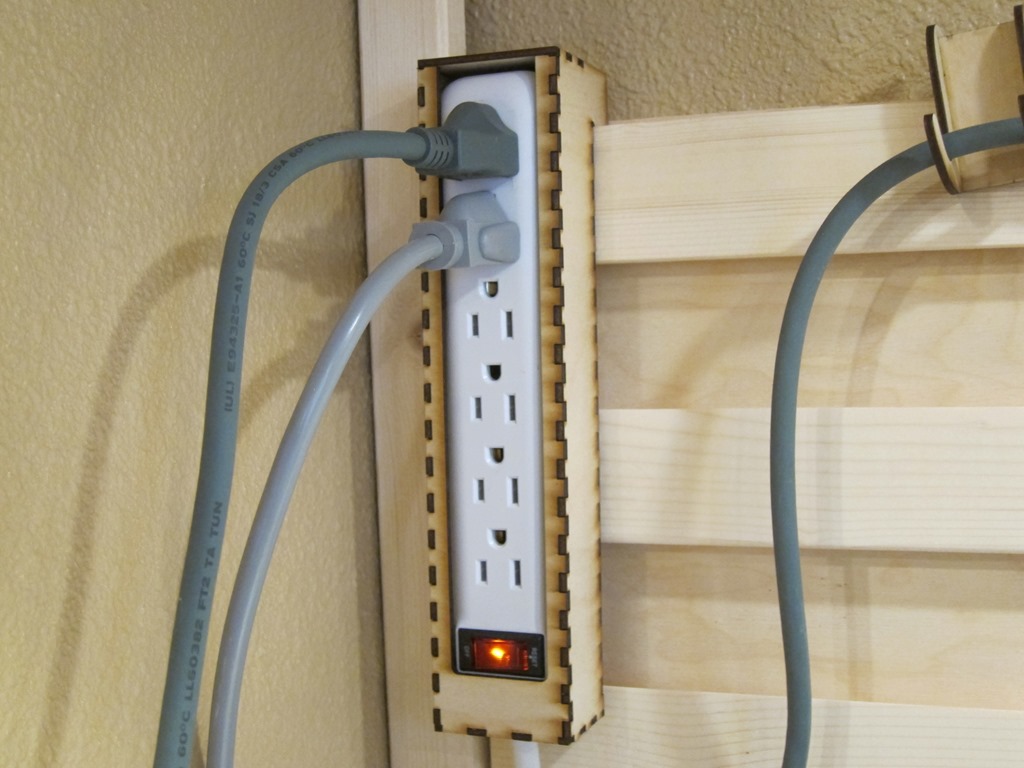
Another simple box, with the dimensions defined by the size of the power strip that I wanted to use. The design is quite simple with a bit of an assembly caveat; the box has both a top and a bottom so you have to assemble it around the power strip.
Resistor decade box
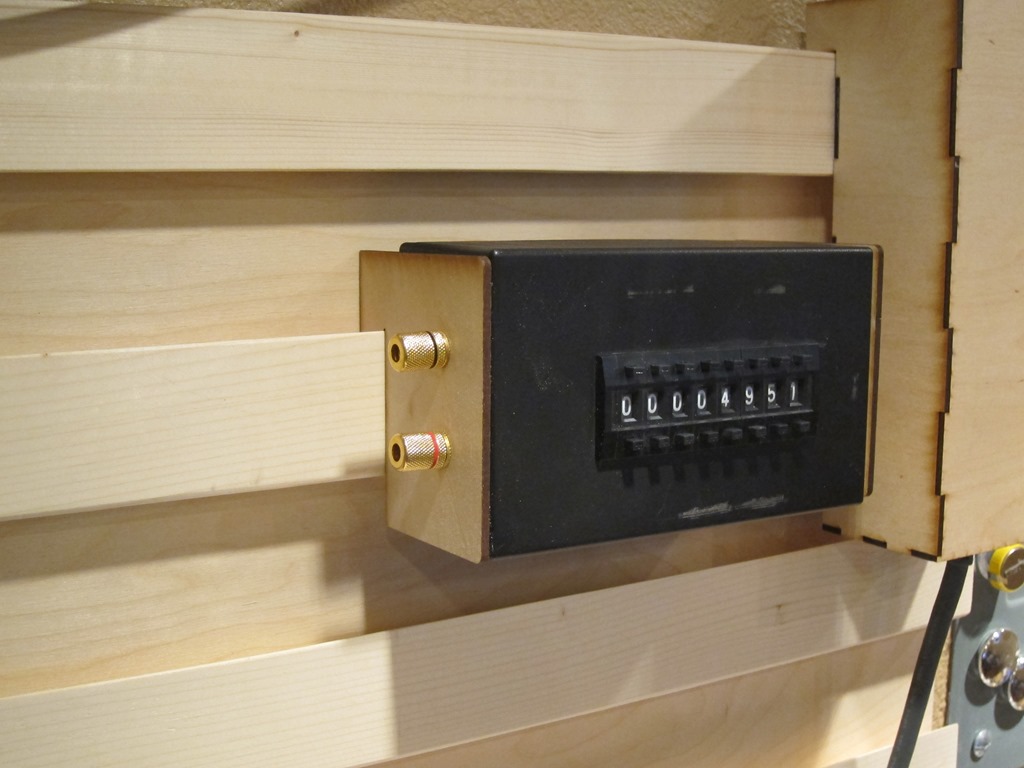
I built the decade box a few years ago based on this instructable. I do a fair bit of work with LEDs and I often find myself wanting to pick an LED value based either on measured current or brightness. I used to do that with a potentiometer, but it’s much easier to use a decade box.
The design here just has two end hangers; one end is attached using the output posts for the decade box, and the other one is just hot-glued on.
You might notice there are some smoke marks on the wood; if I wanted nice I would have masked them off but that was more work than I wanted for this.
Wire hanger
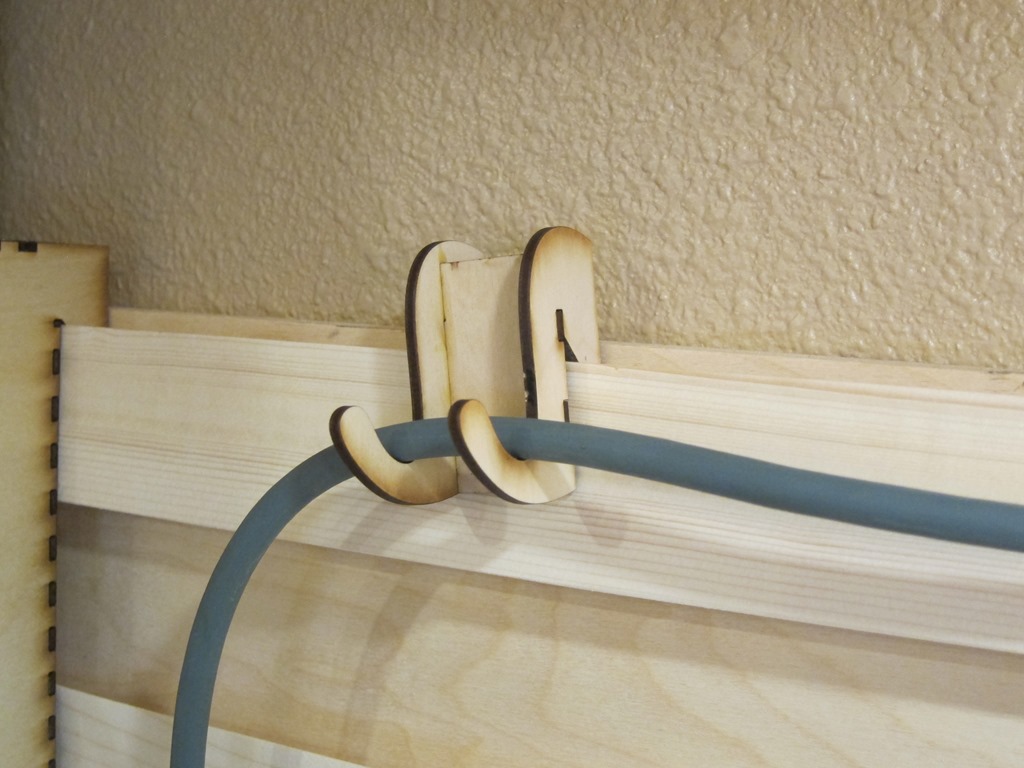
Just one more design for the first wave; I knew I would have wires running across the board and wanted a way to support them:
A simple three-piece design hold up a power cord. It’s tilted because of the weight of the cord is heavier on one side; I’ll probably do a version with a single hanger in the middle. Or I might cut some one-piece hangers out of 1/4” plywood.
Video tour
If you would prefer a video tour of the completed items, you can find it here:
Power supply hanger
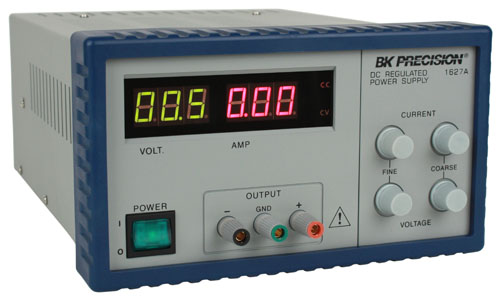
When looking at some of the small Chinese power supplies that are out there, I got a line on a nice surplus BK Precision 1627A on Ebay for $55 and ended up buying that instead. I have an older 4 voltage power supply (+12V, –12V, 5V, and adjustable) that I’ve used quite a bit, but it’s pretty rare that I need multiple voltages these days, I already have the hefty 12V, and I’m going to be adding some dedicated 5V supplies as well. I haven’t used +/- power supplies in a long time, so I think the old supply is going to get packed away for now.
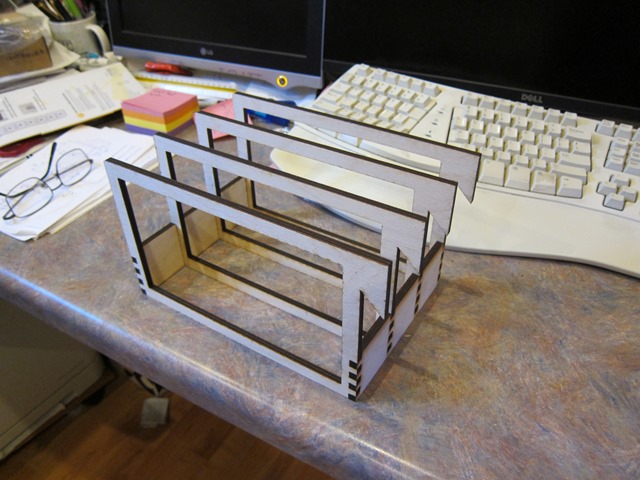
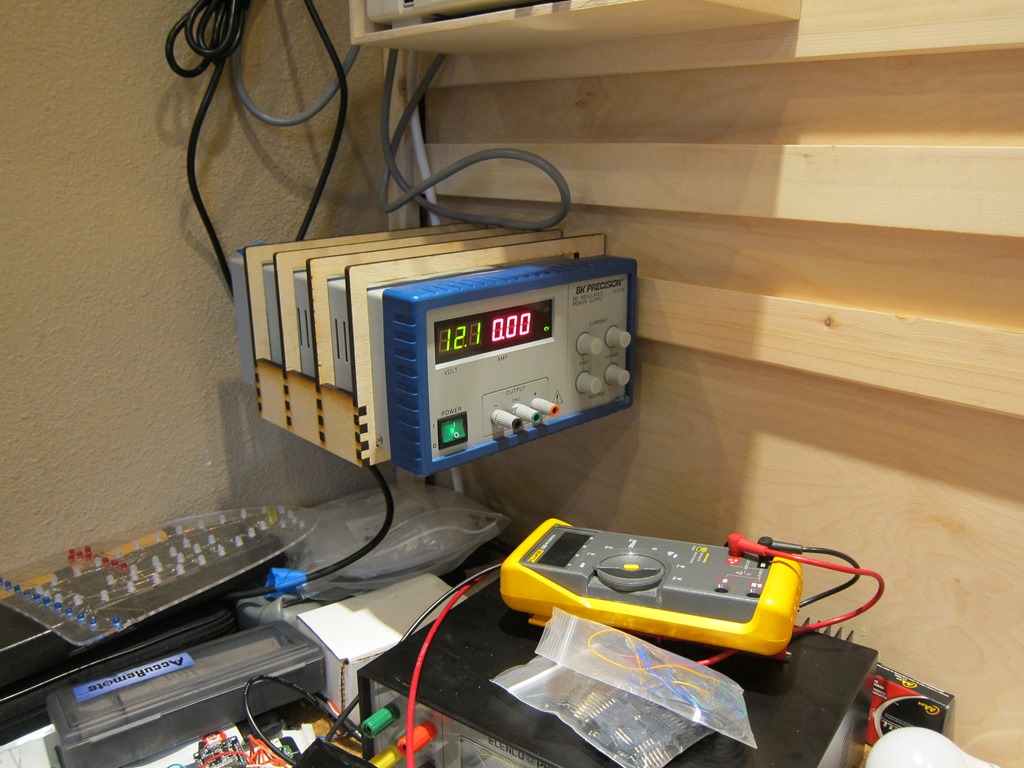
To do a hanger for this looked a bit more challenging than my previous hangers because this is bigger and it weighs 16 pounds. I did the design and cut it out of 1/4” plywood:
The frames here are about 10” x 7” in size. They are cut out of 1/4” (probably 6mm, actually) and glued together.
Pro tip: Go back and look at the picture of the power supply picture above. If you look closely on the side and the talk, you will see some screws sticking out. If you measure precisely and cut to that precise measurement, the pretty holder you create will *not* fit over those screws, and you’ll need to remove the screws – and maybe the equipment feet – to get the frames to fit over the item (the power supply in this case).
Not only did I do that, but the first time I put the hanger on I had it on the wrong side, so I had to repeat it. But I did get to the final result:
Futures
One of my goals was to get my Fluke multimeter off my desk and up in the air, but there are some issues, the biggest one being that the digits are in shadow if the meter is vertical against the wall. I’ve had some designs that put it at the same angle the stand in the base does, some designs that let you modify the angle, and another idea that I might just add some white LEDs to the side so it could be vertical.
There will be a power supply station close at hand; I think it’s going to support 12V from the xbox supply, 5V both on banana plugs and on multiple USB plugs, and I might integrate one of the cheap chinese boost/buck supplies to give options.
Finally, there’s the right side of the bench, which has my soldering iron base and my cheap chinese hot-air rework station. I may end up with a cleat wall on that side I can get them up as well.





One Comment