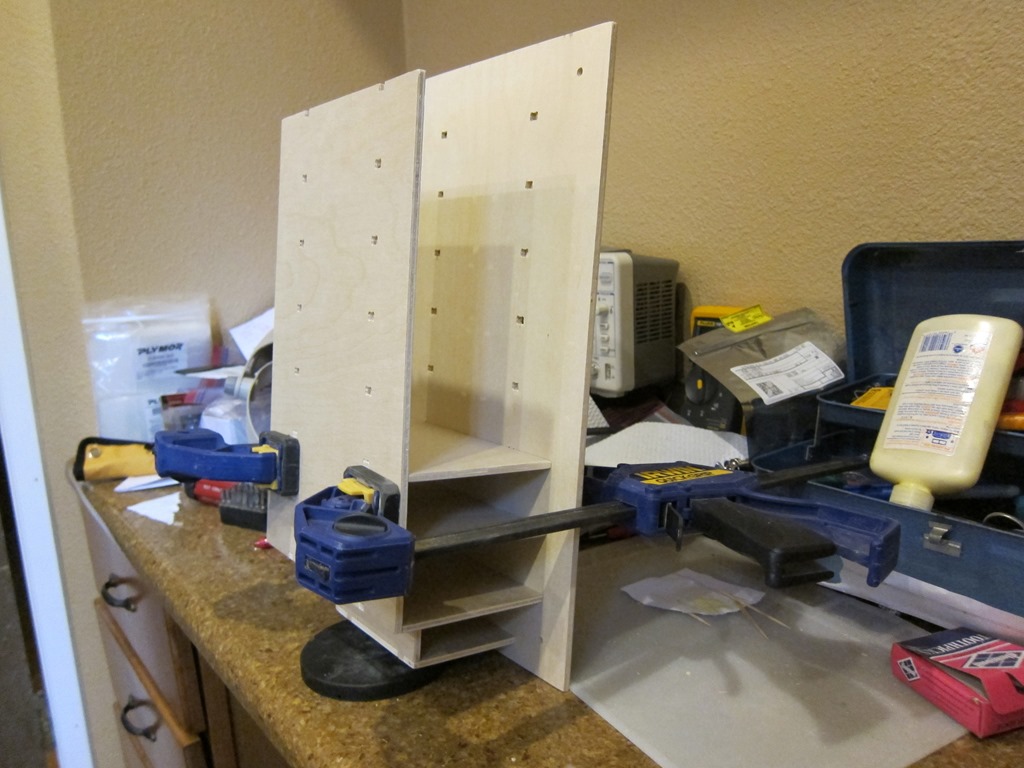
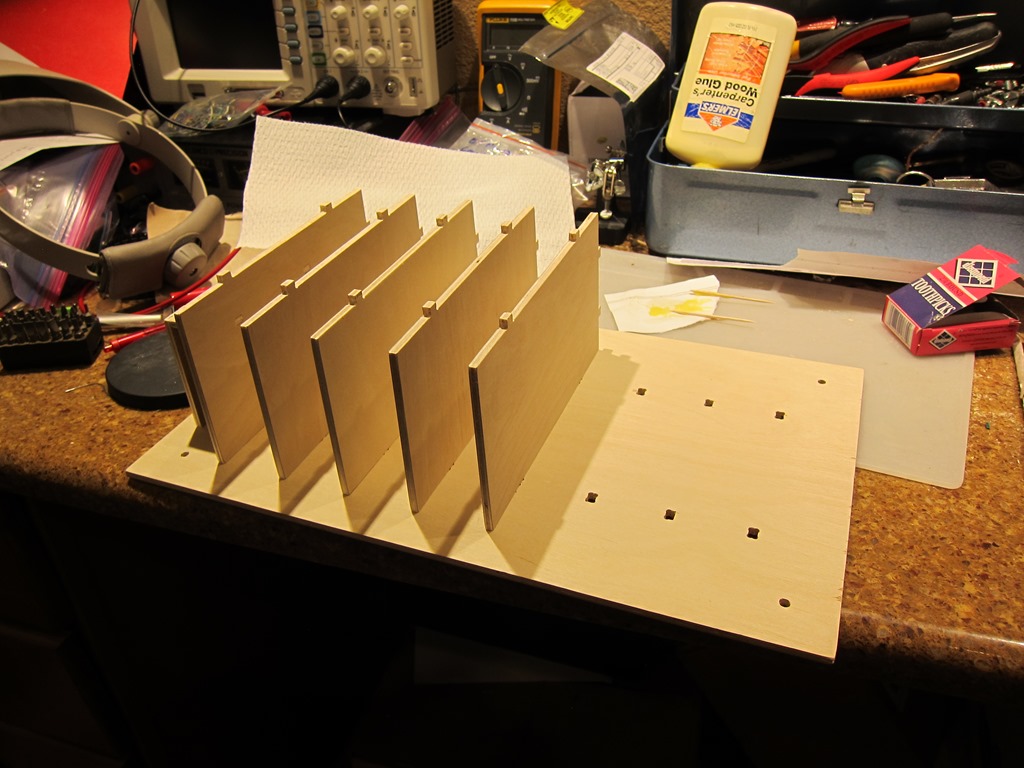
I spent a bit of time tuning all of the joints, cleaning out the dog bones so that they would look nice, and doing an overall sanding of all the plywood. Then it was on to gluing. This was done in sections so that it could be easily clamped together:
The top and back had to be glued all at once, and then clamped. I used a lot of clamps
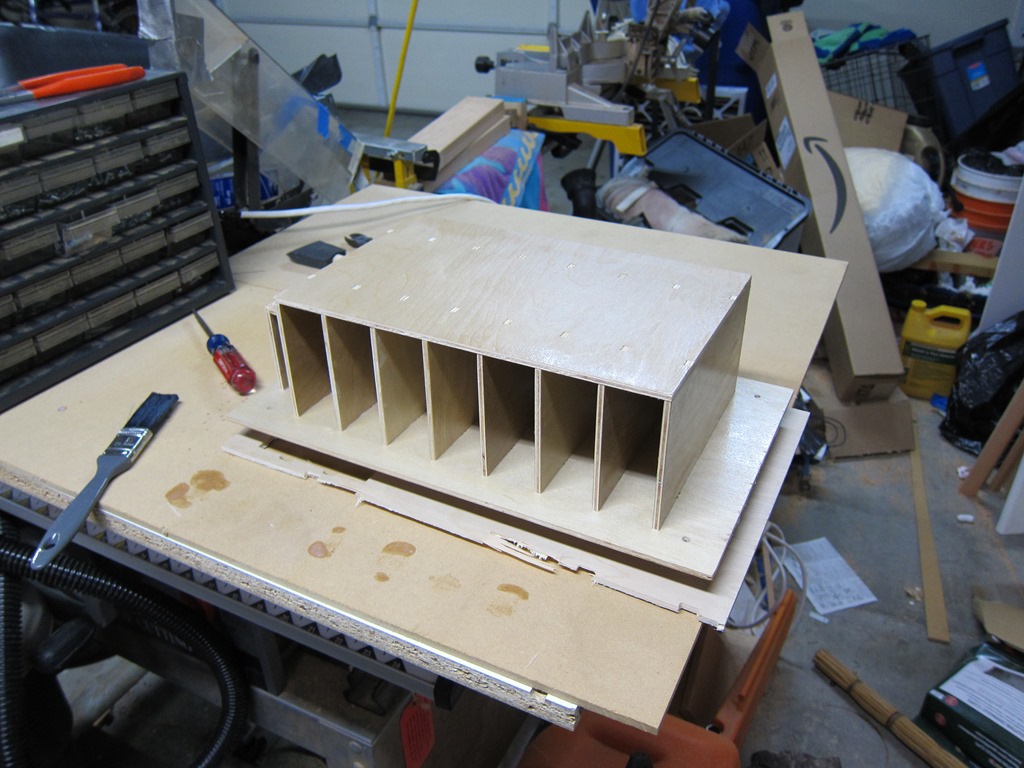
Finishing was next. I decided to use a water-based polyurethane that I already had:
If you look closely, you will see the base hovering above the platform. I build a little stand using the incorrect base piece I built earlier and some standoffs made of machine screws and nuts. That way, I could finish the bottom, flip it over, and finish the parts of the top that were not done. Finishing the inside of the cubbies was a significant pain in the butt.
After the finish dried, I sanded down the raised grain that water-based poly gives you and then put on… well, I was going to put on a second coat and then realized that I didn’t need the protection, so I called the finishing done.
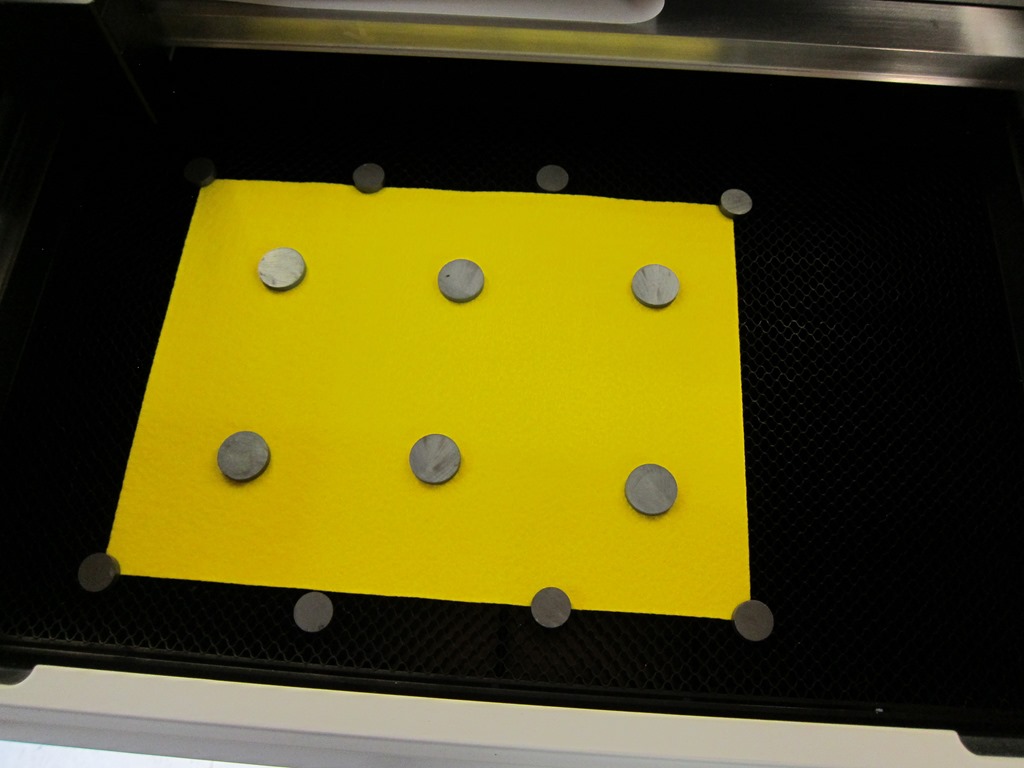
I wanted to have some padding for the cubbies to help hold the devices in, so I bought some felt at the fabric store. The pieces needed to be cut into simple rectangles – which would have been pretty easy to do with an x-acto knife, but when you have a laser cutter hanging out under the garage, there’s an easier way.
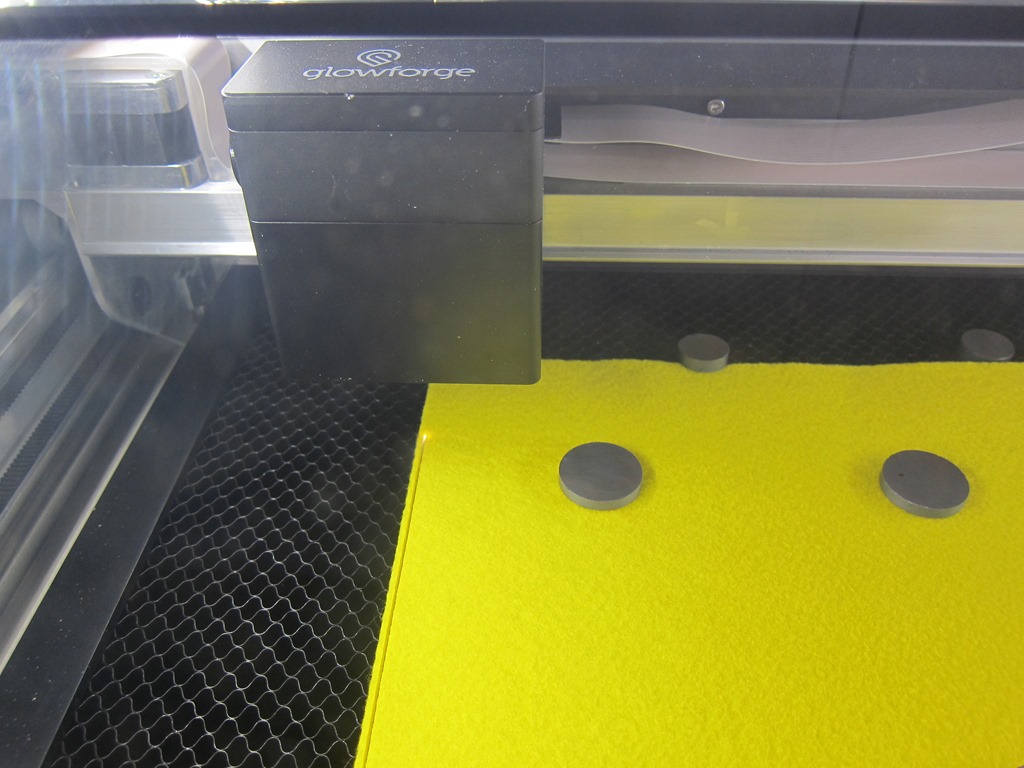
Felt is pretty light and the laser cutter has air assist to clear away the smoke from the cutting, so you need to hold it down. The magnets are carefully aligned so they don’t overlap any of the cuts.
An action shot of the cut.
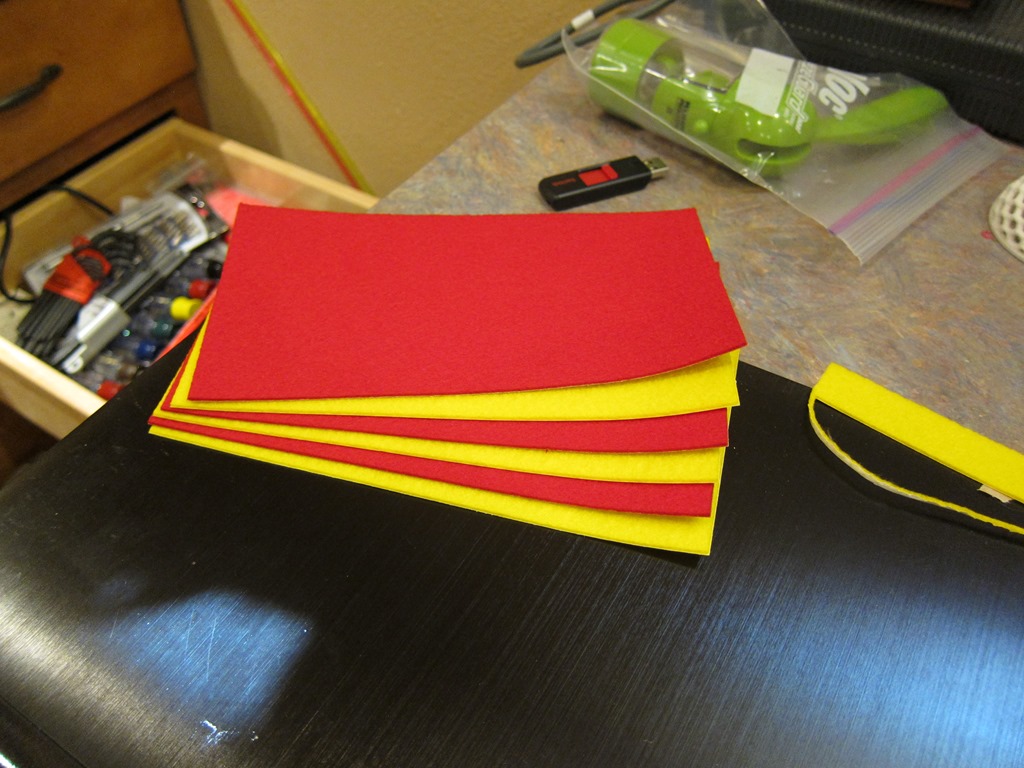
And the result. Somewhat surprising to me, there was absolutely no charring at all on the felt; it looks like it was just cut with a very accurate knife.
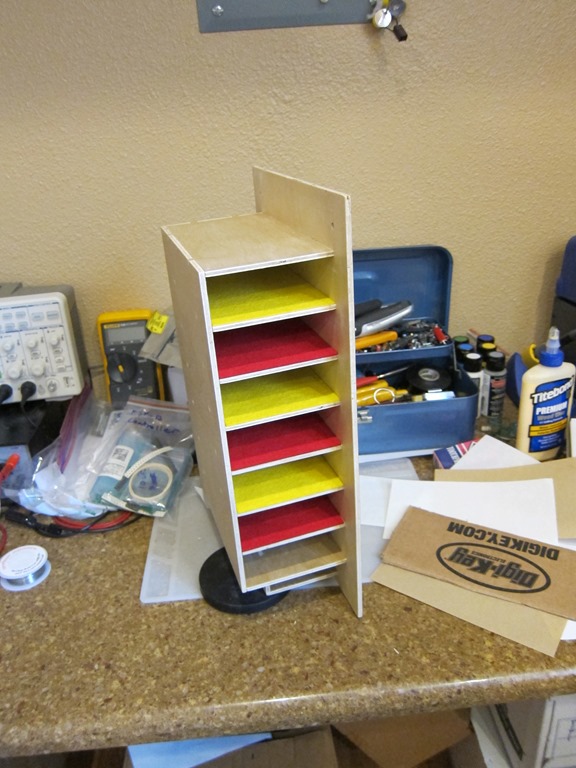
And here we are with the felt installed. There is no felt in the bottom since that part is just a pass-through for the cables (yes, it could have been more elegant). Putting the felt in was *interesting*. I’d peel of the backing, put it adhesive-side up on the appropriately-sized piece of cardboard from a Digi-Key box, and then, with the unit upside down, carefully lift it up to align the felt with the edge, and then press it down. It worked pretty well.
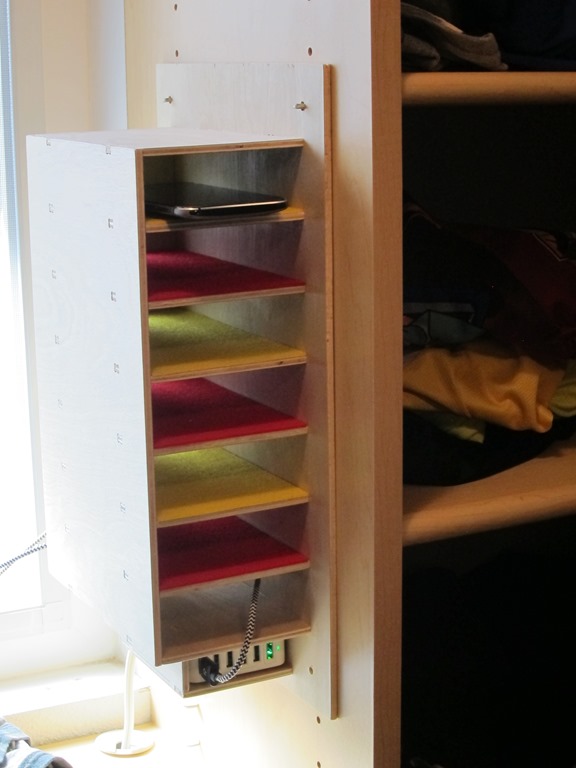
And finally, it was time for installation. The first shelf peg fit perfectly, the second one was offset by a bit, which means my measurements were off a bit. I enlarged the holes and it was fine. The bottom holes… well, they were off by about 1/4 inch. Which is a bit embarrassing. I did a bit of modification to two of the shelf pins with a grinding wheel in my Dremel to make the cylindrical part a bit longer so they would stick farther into the shelve, drilled a hole through the shelf below to add a grommet, and installed the hub. Here you see it charging my cell phone. I bought some more cables to use but they’re currently all in use for another project, so that’s why there is only one device.
Overall, I’m pretty happy about it; the project looks decent (if you like through-tab designs; I could have done a hidden tab design but chose not to for my first project) and I learned a lot about how to do the design and how to use the Shaper Origin.

So, what do you think ?