
I have a product that I’ve just started selling; it’s a LED globe/Soldering challenge kit that looks like this:
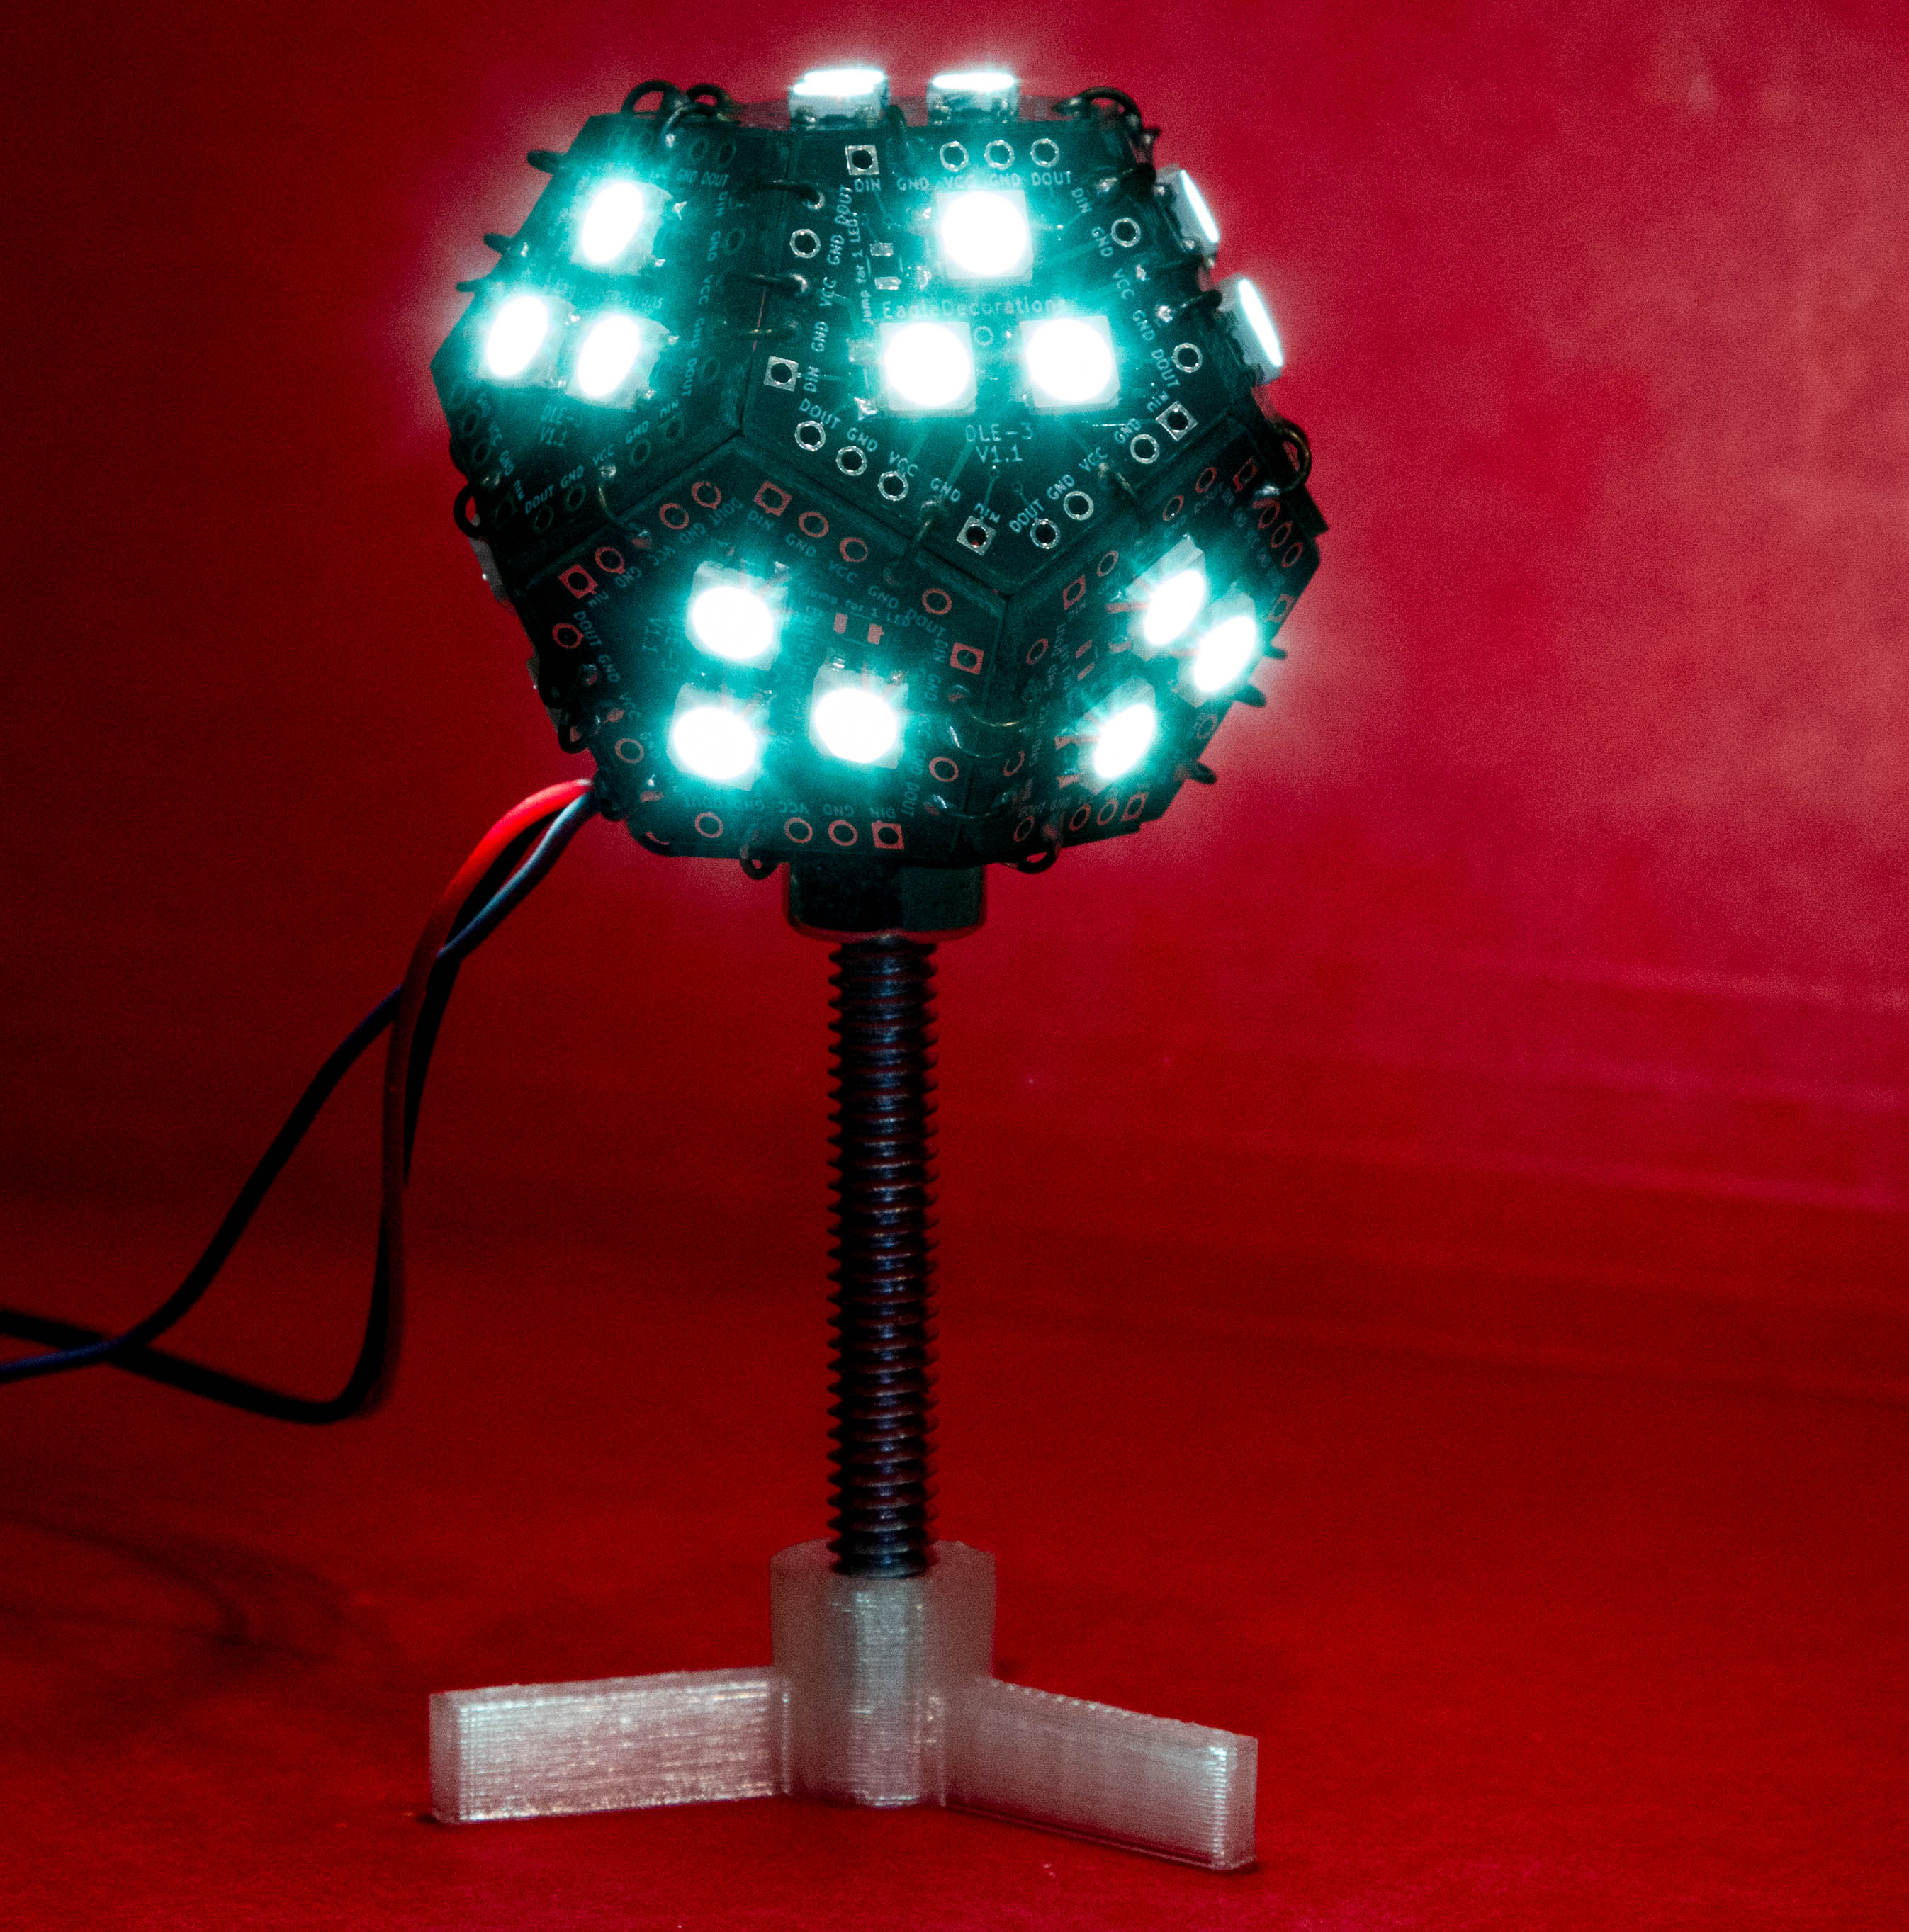
It has a PCB that looks like this:

For my first run, I needed to make 10 kits, and each of them has 12 of these boards, so that’s 120 boards.
I’ve been hand-soldering the prototypes, but it takes quite a while and my eyes aren’t as good as they used to be. I just built a reflow oven based on the controleo3 kit so that I can reflow in cases like this.
Which means I need a stencil. I could easily just order one up, but that means I’m going to have to align this tiny stencil with the board 120 times. Doesn’t sound like fun…
What we need is a way to apply solder paste to a set of boards in one shop and make it repeatable. In the woodworking world, that would call for building a “jig”, or perhaps a “fixture”. Which is what this post is all about; we’re going to use a laser cutter to make all of this oh so much easier.
Teaser photo
Here’s a teaser photo of what we’re going to build:

Get your board outline and paste mask in SVG format
Since I’m doing my design in Kicad, this was really easy; just go into your design, click the plot button (like you would to create Gerbers), choose the F.Paste and Edge.Cuts layers, and set the plot format to SVG. That’s it.
Well, actually, you should probably modify your paste cutouts to be a bit smaller than they are by default; see this excellent reference for how to do it in Kicad.
If you are using a different package for your design, search online for how to make stencils from it; it will tell you how to export.
Create a combined image in Inkscape
The export give us two separate files; one has solder pads, and the other has the board outline. The first step is to combine them together.
Open both images in Inkscape. Change the color of the edges to blue and the color of the pads to red. We do this so we can control which ones get cut and which ones don’t in the laser cutter.
You do have access to a laser cutter, right? Because if you don’t you’re wasting your time.
Anyway, that gives us two instances of Inkskape:


We now need to combine those two together in another image.
Create a new document in Inkscape with File->New. Go to the pads Inkscape version, do a Select All, then a copy. Switch to the new document, choose edit->paste in place.
Repeat the operation with the edge cut Inkscape version.
If your are of true character and have a pure heart, you will get the following:

Edit->Select All, then Object->Group. That puts this all together into a single object.
Save the document away with a catchy name like “Combined”. We now have the image for a single board.
Duplication
We now need to create an array of objects; in my case, it’s going to be an array of 4 wide and 3 high. We’ll start with the four:
Mine looked like this:

Those are way too close together for me. Undo the distribute, move one of the edge ones out, and redo the distribution.

That’s better. The actual spacing is up to you. Group them together and save.
We’ll do the same thing for the rows; create two copies, align the left edges, and then distribute:

Save. Looks like we’re done, right? Not quite, there’s one more thing to add:
Indexing
This will work fine, but we would have to hand-align the stencil with the boards, and that’s going to be a bit of a pain to do. What I want is a way to make it repeatable.
The secret is pins. Pins, I say!
A trip to my local hardware store yielded two 5mm shelf support pins. They are likely longer than I need and I might cut them in half for my usage. They look like this:

We are going to use them for alignment, which means we’ll need some 5mm holes.
Flip back to inkscape, and draw a circle. Pick the selection tool, and up under me menu bar, you’ll see the width and the height. Set both to 5mm:

Set the fill color to full green, set the stroke color to black, flip over to the stroke style, and set the width to 0.1mm. It should look like this:

Put this one to the upper left of your objects, copy it, and put the second object to the upper right. It should look something like this:

Note that it doesn’t look that great. That’s okay, we will fix that now.
Draw a rectangle from one corner of your objects to a point spaced away; this will be the pin location. Something like this:

Then drag the circle so that it is at the corner:

I call this “using a gauge block”. Move the rectangle to the other corner and use it to align the other pin as well, and then delete the rectangle. They don’t have to be symmetrical for the technique to work, but I like things to be regular.
I ended up with this:

Why so many items and so many colors? We will use them in the cutting process.
The jig that we created will be a sandwich of different materials; from bottom to top they are:
There’s a bit more complexity than that; I’ll talk about it when I get to the actual cutting.
Materials…
The goal of making the fixture is to make laying down the solder paste easy, so the materials need to be chosen carefully.
My PCB house says that they material they use is 1.6mm thick. I don’t trust material thicknesses, so let’s check:

That’s pretty close, just a 0.04 mm thicker than I expected.
For the main parts of the fixture, I needed something that was fairly rigid, fairly cheap, and the right thickness. I thought about hardboard but decided to go with what is called “chipboard”; I’m not sure why it is called chipboard because it’s just very compressed cardboard, the kind you find at the back of tablets of paper.
After looking it locally in vain, I ended up heading to Amazon, where I came across this:
Grafix Medium Weight Chipboard Sheets, 12-Inch by 12-Inch, Natural, 25-Pack
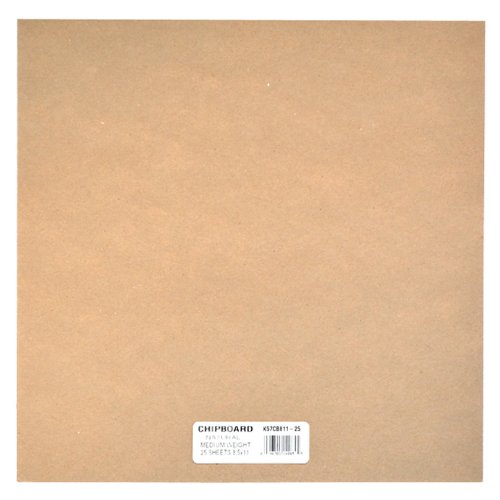
25 sheets was more than I needed by about 24 sheets, but it laser cuts well and is decent for prototypes.
The thickness isn’t listed in the specification, but that was one of the questions asked, so I looked at the answers and found that is was:
It’s nice to have some many helpful answers. I could probably make most of those work, so I ordered it. It showed up, and what did I find?

So, the correct answer was “none of the above”. It is notably a full 0.1mm thinner than what the manufacturer says. I’m not sure that just means there is more variance than the manufacturer says or they are just going thinner. Luckily, I can work with that thickness
For the actual stencil, there were a few choices. You can cut them out of Kapton or out of Mylar. I went looking for Kapton in the common stencil thicknesses of 3 or 5 mil and didn’t find anything that looked good and cheap. So, looking at Mylar led me to Amazon, where I found 4 mil mylar, also in a package of 25.
What is the mylar thickness?

A quick bit of conversion shows me that the sheet is just over 3.8 mils thick, which is fine.
Materials in hand, I headed out to my workroom where the glowforge lives to do some cutting.
Some cutting remarks
First up was cutting the mylar. The Glowforge has a significant bit of airflow to pull fumes out, and 4 mil mylar would blow right off the crumb tray, so I used ceramic magnets to hold it in place.
One of the problems with mylar is that when you heat it up it tends to shrink. Since the holes I want to cut are rectangles, the laser head needs to stop at each corner, and at least on the Glowforge, it doesn’t do anything to the beam, so you will get a lot of power right at the corner. Maybe we could break the rectangles into two cuts and carefully manipulate the laser power, but I’m not that confident it would work. If you want to cut it normally, I would recommend trying low speed and very low power.
Luckily, there’s another option. We can do a raster engrave of the squares and just ablate away all of the material in the middle. This avoids the “stuck in the corner” issue, and since the power level is fairly low and the start and stop is done by turning the laser on and off, there should be fewer issues.
The right way to do this is to put a piece of paper under the mylar and figuring out what power and speed settings cut through the mylar cleanly but barely touches the paper. I grabbed some settings from the Glowforge Forums and used those.
For the mylar, we are engraving the red paste mask part of the design and the green circles. The blue board outlines are disabled

This is the first row being engraved. You can see that there is a little sloppiness in the outlines, but in general they are pretty much all the right size. Here’s the final sheet:

The stencils look like what I expected and the 5mm holes look appropriate as well. Maybe this will work after all…
Next up was cutting the top piece of chipboard with the board outlines. The board outlines are turned on in cut mode, the circles are switched to cut mode, and the paste mask is turned off.

I previously did a proof of concept on this step, so I knew it was going to work. Nice clean cuts.
And finally, the base cardboard piece. All it has is the circles, so it looks like the above picture with just the circles.
Assembly
Sandwich time!
We start with the base.

And then add in the 5mm pins. This posed a bit of a problem; the pins have a nice chamfer on the end so they didn’t stick into the cardboard very well. I solved this by cutting one of the pins in half with a dremel and an abrasive wheel. I should also note that at 4.96mm, they are just slightly undersized.

So, it turns out that the 5mm holes aren’t quite 5mm in size; they are just a bit smaller so I need to force them in a bit. A friction fit is good, but a forced fit is less good. This is exactly the sort of stuff you learn if you do test cuts. Well, perhaps version #2…
Adding in the board layer, which aligns quite well with the bottom layer. And the boards fit with just a little bit of movement, which is just about perfect. They are proud (above the surface) by about 0.3mm, which I determined by math. That will probably be okay, but if I want/need it to be closer, I can easily shim it out with some mylar, which at 4 mil is almost exactly 0.1mm thick.

The moment of truth. Adding on the mylar layer. The mylar holes are also too small, perhaps more too small than the cardboard.

What sort of result did we get? It mostly looks pretty good. There is a tiny bit of bowing in the mylar, which I think is due to the “too small holes” part, but it’s probably good enough right now. The alignment is offset a bit but it’s certainly usable:

Revision #2
The nice part about building a jig this way is that the materials are cheap and doing another set of cuts doesn’t take much time, so it’s easy to do another revision.
My first goal was to fix the circles so that they better matched the pins. Since I set them to 5mm explicitly, I figured I’d need to make them a little bit bigger. So, I opened up the design in Inkscape, selected the circles, and what did I find?
4.95mm
Huh? I honestly set them to 5mm, but now they are smaller.
A bit of experimentation revealed what was going on. I am used to working in Visio where the dimensions are inherent properties of the object, so a circle that is 5mm in size is always 5mm in size.
Inkscape is different. When you way that a circle is 5mm in size, you are setting the outside diameter, and that includes the line width. So, if you set the size of the circle and then change the line width to be thinner, your circle will no longer be 5mm in size. More like 4.95mm.
Discovering this made me happy, as it meant that the bad fit was from something I understood, not something I did not understand.
That was a really quick fix, and I cut the new pieces and put the sandwich together. This worked much better; everything went together much easier, and the alignment was better:

Looking closely at the entire stencil, the errors look pretty random. It’s by no means as nice as the commercial stencils I’ve had cut, but it seems serviceable enough.
I did want to deal with the spacing issue so I could get the board thickness a little closer to the fixture thickness. It turns out that 4 mil is almost exactly 0.1mm, so I cut a spacer as part of the previous revision. Here’s a crappy picture of my first attempt (the stencils are really hard to take pictures of):

That is what happens when you try to cut mylar with high power; the beams stays on at the corners and totally blows it out. I *thought* this would still be usable, but all that melted mylar globs up and is way thicker than 4 mil.
I cut a second version as part of the revision, using the lowest power that would work.

That is definitely much better, but when I grabbed my micrometer and measured it, it turns out that the mylar melts a bit where it’s cut and the edges are about 0.2mm thick. Since I was hoping for something like 0.3mm total, just using this spacer should be sufficient.
First pass with solder paste:

And the resulting boards. It was mostly good enough; needed a bit of touch-up for a couple.

LEDs and decoupling capacitor added:

Into the oven:

And all done:

The reflow worked well; 11/12 were fine at the start, and I replace one LED to fix the others.

Round 2
Round 2 was more of a production run. I changed my technique so that after putting the paste on, I would peel the stencil up and then separate the layers to let the boards fall out the bottom. This worked pretty well. I did 9 rounds plus 4, or 112 boards total, which used up most of my LEDs. Two rounds in the oven, and I had 111 functional boards.
I really need to build a new test rig; the current one only tests 3 at a time and it’s a pain to load them.
Summary
I’m quite pleased with the way that the jib turned out; I pretty much works exactly the way I had hoped, and I can apply paste and populate a set of boards in about 10 minutes.
One Comment