
A week or so goes by, and I get a package back from allpcb, so I started building one.
Each half has a ring of 5 pentagons plus one the end, so I started hooking 5 boards together:

The WS2812 LEDs are only 5mm on a side, so the whole board is roughly 15mm x 17mm. That’s tiny, and frankly working on it was a huge pain. I did this, put the boards into a box, and closed it.
Then I came back the next day and decided to have another try. Rather than connect on the outside, I decided to use a much lighter wire and connect on the inside (back) of the boards. Here’s a set of 5 with VCC and GND hooked up:

Yes, that’s some *ugly* soldering, but in my defense I’d like to note that the spacing on the holes is about 0.05”/1.3mm. This then gets folded into a ring. Eventually, we end up with the top and bottom:

Next, those two are soldered together with wires to carry VCC and GND between halves, and you end up with this:

Next was to wire through the data ports. Basically, it starts at one face at the open end, goes around that ring, goes around the lower ring, and finally travels to the bottom. Add in some hot glue to help hold things together, and put the LEDs on, and here’s the result:

That is one ugly bit of construction, and it took a lot longer than I had hoped.

After soldering a few hundred WS2812s, you learn how to do it without burning them up. On the left is one face from the 3-LED version that I tested to verify the layout.
V1.1
The first version was technically a success, but only because I so cussedly kept on. I was wondering if I could make something small enough to fit in an ornament ball, and the answer is “yes”, but you really don’t want to do it.
So, it’s practically a failure.
The biggest problem is the connection between the faces; the holes are too hard to solder, and using individually-cut wires is a pain…
So, I’m going to abandon the single-LED version (kindof – more on that later) and work on the 3-LED version. I started by going with standard 0.1” (2.54mm) header spacing, and the plan is to use angled headers. The angled headers will stick out to the side, and two faces are connected by soldering the ends of the header pins together. It’s going to look a big weird, but should be a lot easier to construct.
Here’s the old design and the new one:
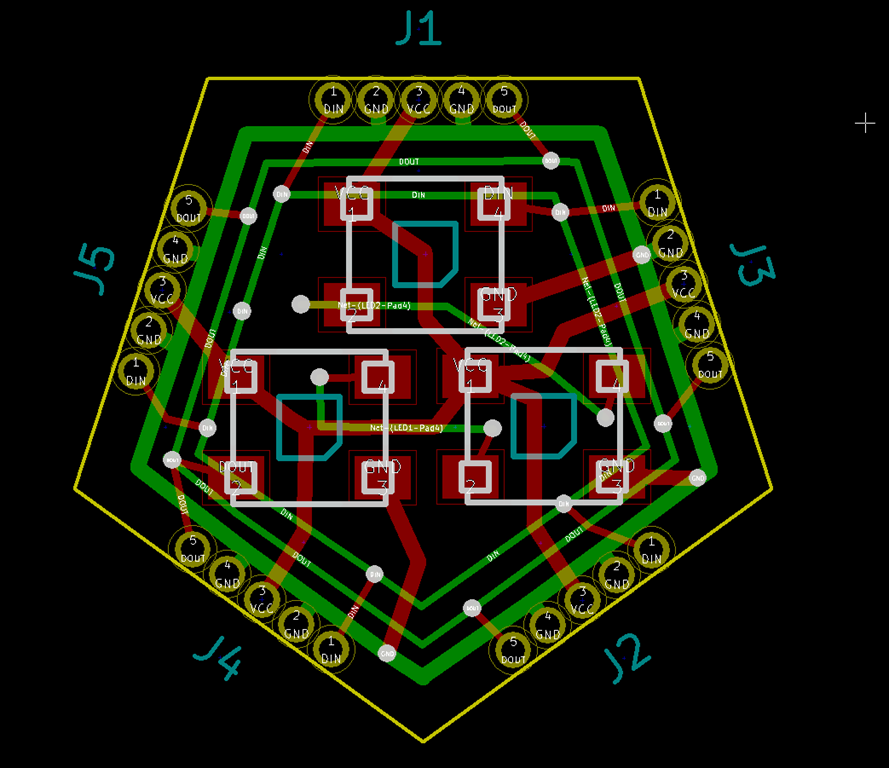

Obviously, the big different is the connectors; they are much larger, though the overall design is only a big bigger. I’ve used the extra space to pull the LEDs a bit farther apart because trying to hand-solder the LEDs in the first version was a difficult. And I added a little bypass jumper; if you solder a wire (or better, a 0805 zero-ohm resistor) across those pads, you can omit the bottom two LEDs and things will work fine.
If you read backwards, you might see that it says “Dodecahedral Light Engine” on the back, which is the new name for the boards.
A fully-populated DLE will features 33 LEDs, pull 2 amps @ 5V with everything on white, and put out quite a bit of light.
I need one more design review pass before I send this one out to have boards made.
So, what do you think ?