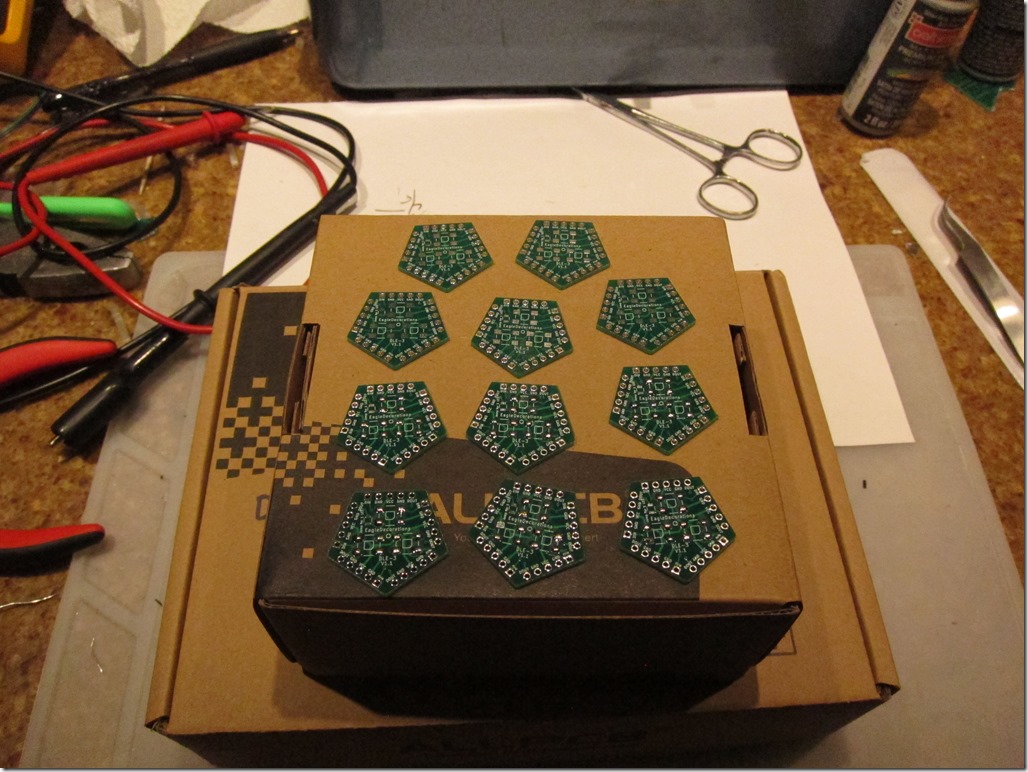
The new boards arrived from allpcb.com. To recap, this, time I went with standard 0.1” (2.54mm”) header pins between the boards. I ordered some angled headers from the Amazon to use for the connections.
After I populated 11 faces with LEDs, it was time for assembly. Here’s the first approach:
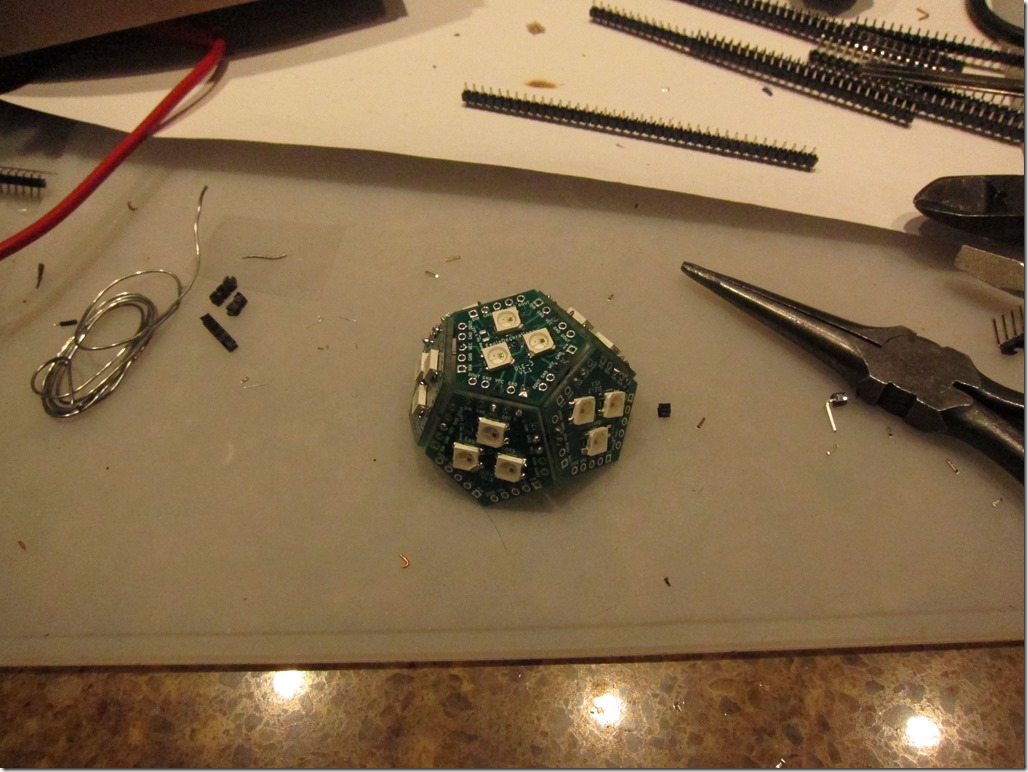
The first concept was to wire the faces together with short pieces of header on the back. This worked poorly; it took a long time to hook them up and the angles were rarely right. The first half was technically done, but I was unhappy.
For the second half – and keeping in mind that prettiness was not a requirement – I decided to go with another approach. I would use angled headers on the outside, and just solder the pins together where they overlapped.
But first, I needed a better way to set the angle. The led to the following design in TinkerCAD:
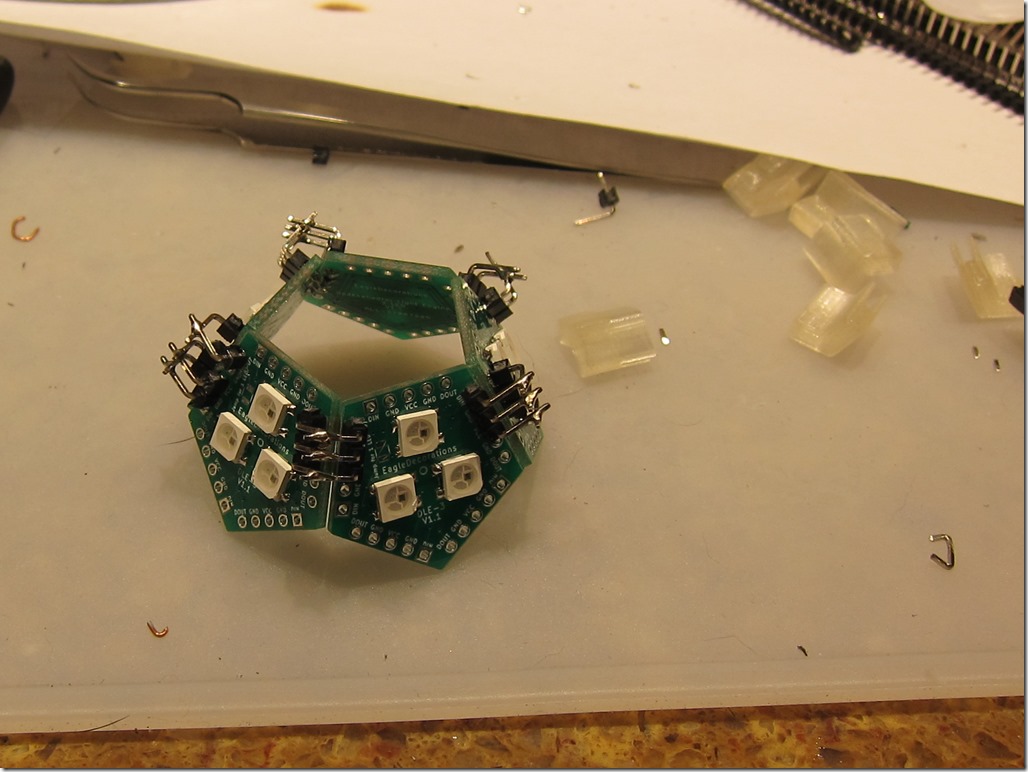
And then a long session of setup to migrate my 3D printer from an absolutely ancient laptop to one that was merely old. I printed up a whole set of these, and then used them to hold the faces at the right angle for soldering. That resulted in this upper ring:
The alignment clips on the right worked very well; it only took about 30 minutes to do this whole ring. And yes, it’s very ugly.
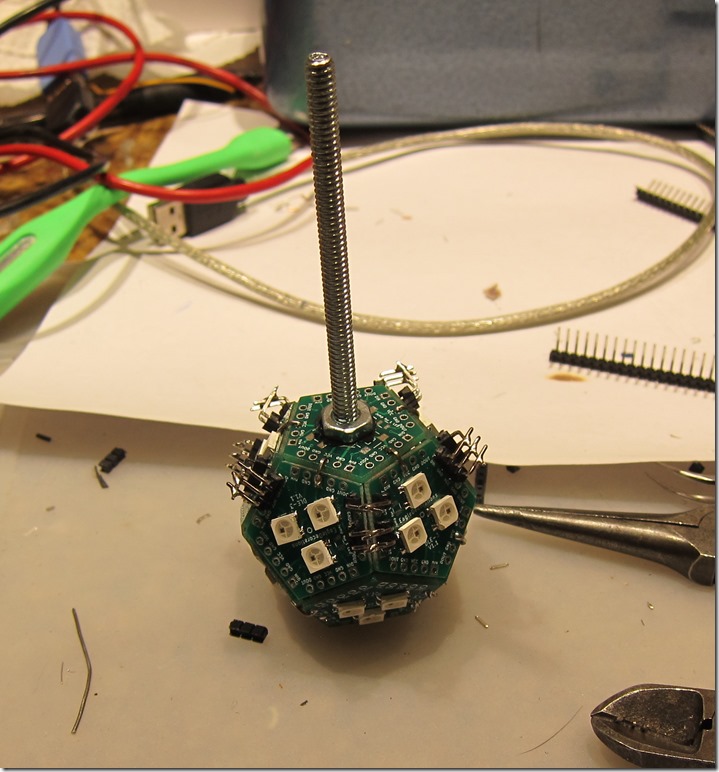
Time to hook them together, and then attach on the end face. These are attached with small pieces of header pin on the outside.
Then it’s time to wire up the 5 volts, ground, and data, and take it out for a spin.
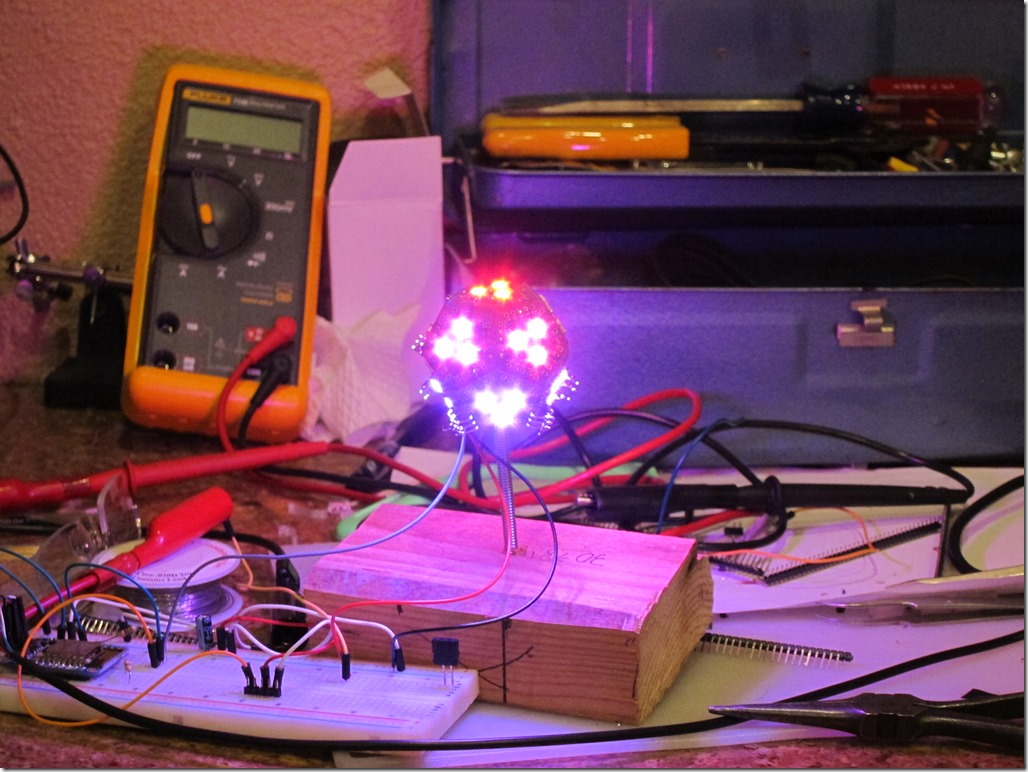
The first attempt was not successful; one ring lit and the other didn’t. A quick check discovered that the ground connection between the two rings was not functioning, so I added an additional connection. Which led to this:
The driver is running some simple rainbow code, so each LED is a slightly different color.
Finally, adding on the requisite acrylic globe gives us the following:
Globe of fire from Eric Gunnerson on Vimeo.
Overall, I’m mostly happy. It would be nice if the header holes were a bit tighter on the pins, and I could clearly get by with 2mm or even 1.27mm pins. The 3d-printed alignment clips could use another iteration to make them easier to use.


So, what do you think ?