When we first bought our house nearly 20 years ago, one of the first things we did was to replace a 20-year-old wood garage door with a nice sectional from Clopay.
This door used a proprietary design known as a “pinchless” design; rather than using a simple hinge that attaches to the two parts of the door, they designed a hinge where the top part is attached to top door upper door panel, and then there are little arms that are attached to the lower panel with a steel pin. Each hinge is slightly different.
Over the years I’ve had a few hinges break; it’s really common for one arm of the hinge to come off of the little pin, which puts more pressure on the other side. Over time, that side will break, and the door will start working poorly, and the failure may cascade to other hinges.
I broke 3 or 4 hinges, and whenever that happened, bought a new hinge and replaced it.
Last month I found that another hinge had broken, searched online, and found out that Clopay has not only discontinued that design, they have stopped making replacement parts and. You can find some of the hinges available, but not the #1 hinge that I wanted.
I tried a jury-rig that rapidly failed, thought about a new door ($1000, no thanks), and then decided to fabricate one myself. My goal is to beef it up with slightly thicker sheet metal and make the arms that keep breaking wider.
Reverse engineering
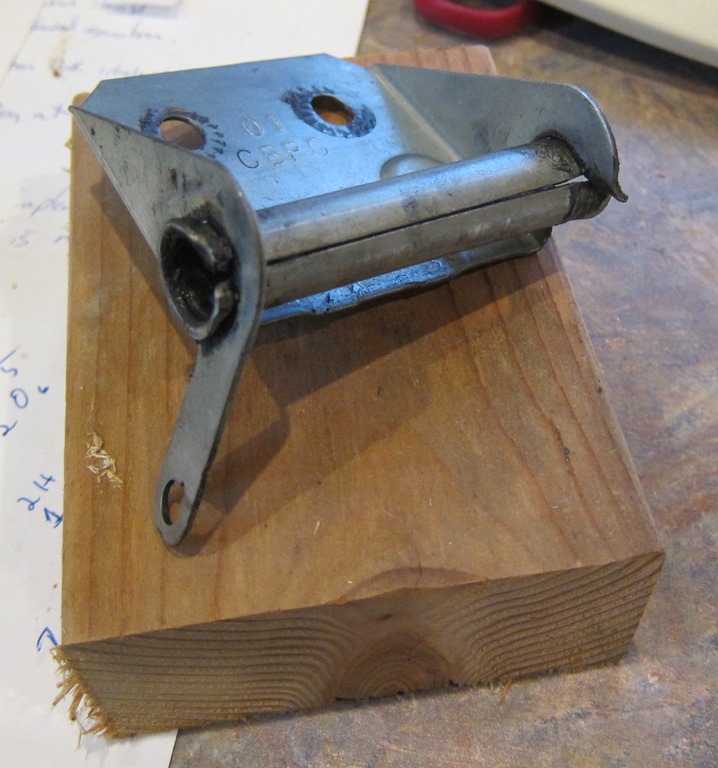
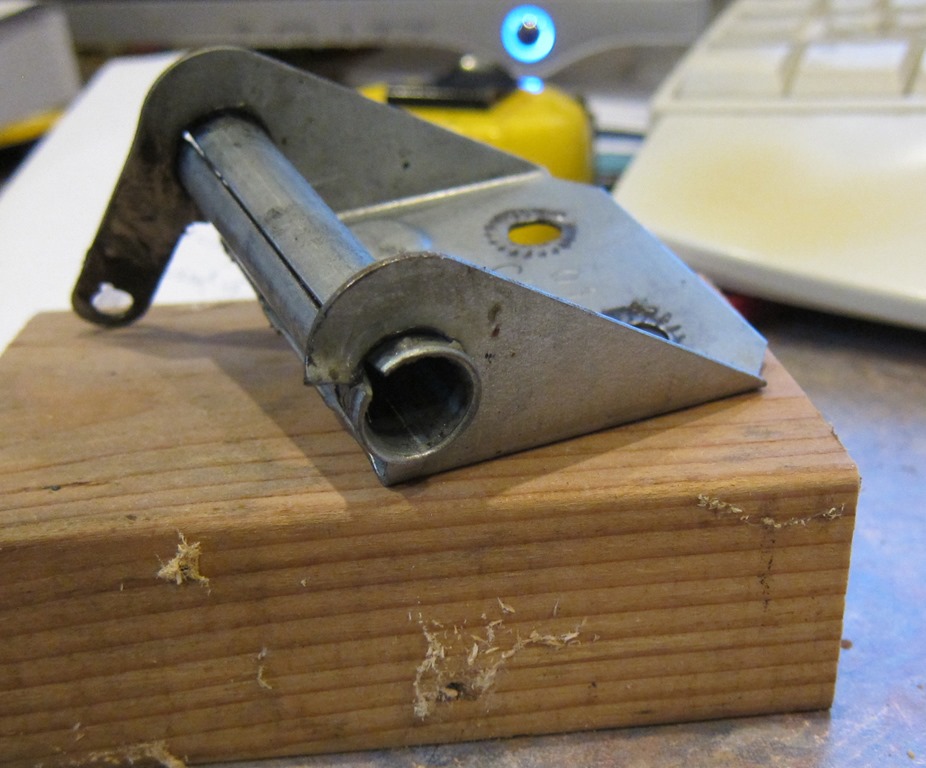
To start, I need a design that I can work from, so I started by pulling the hinge off and making a pattern:
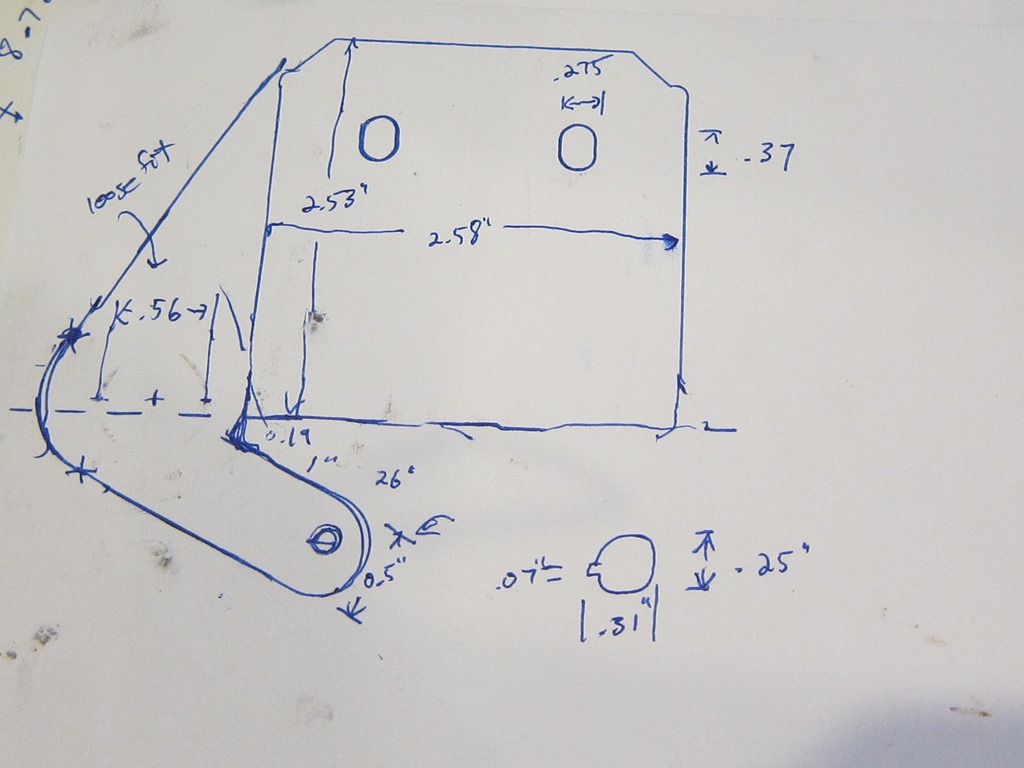
From that I did a tracing to get the format, and got out the calipers to measure holes and other parts directly. Here’s what I ended up with:
At this point, my first thought was to do a quick drawing, print it out, and just transfer it to a piece of sheet metal – somehow – and then do the machining to create the piece.
I’ve done that sort of thing in the past, but the problem is that it’s hard to get the layout right, and if you mess it up you can easily ruin a lot of work. Is there a way to make it more foolproof?
CAD
The obvious solution is to do what I would call a real design. So I sat down with my drawing, a ruler, and calipers, and fired up Fusion 360.
First off, I draw the outline as two separate bodies.
This is pretty close, though the end of the arm is square rather than rounded. I wanted more beef on the arm, so I’ll add that in next:
Throw in some filets, join the old and new parts together, and we get the following:
Now we need some holes:
The locations of the holes are pulled from my drawing, and the sizes come from direct measurement of the holes in the current hinge. The little tab on the hole in the arm is there because the pin that goes through has a little tab on it for retention.
Mirror across a plane in the middle, do some cuts, do some combines, and we end up with the following:
I then exported that to an SVG file using the Shaper Origin plugin for Fusion. You can find the SVG here.
Manufacturing
I took the design and printed it out, and then put it behind my traced design and held them up to the light to verify that things were in the right place.
The next task was to transfer that design to metal. The way that real machinists do this is to put layout dye on the metal and then scratch the design onto it. I don’t happen to have any dye lying around nor am I experienced at this.
But I do have a laser cutter. Steel is very reflective of infrared so I can’t mark it with my laser cutter, but maybe there is something I can put on it that I can ablate away?
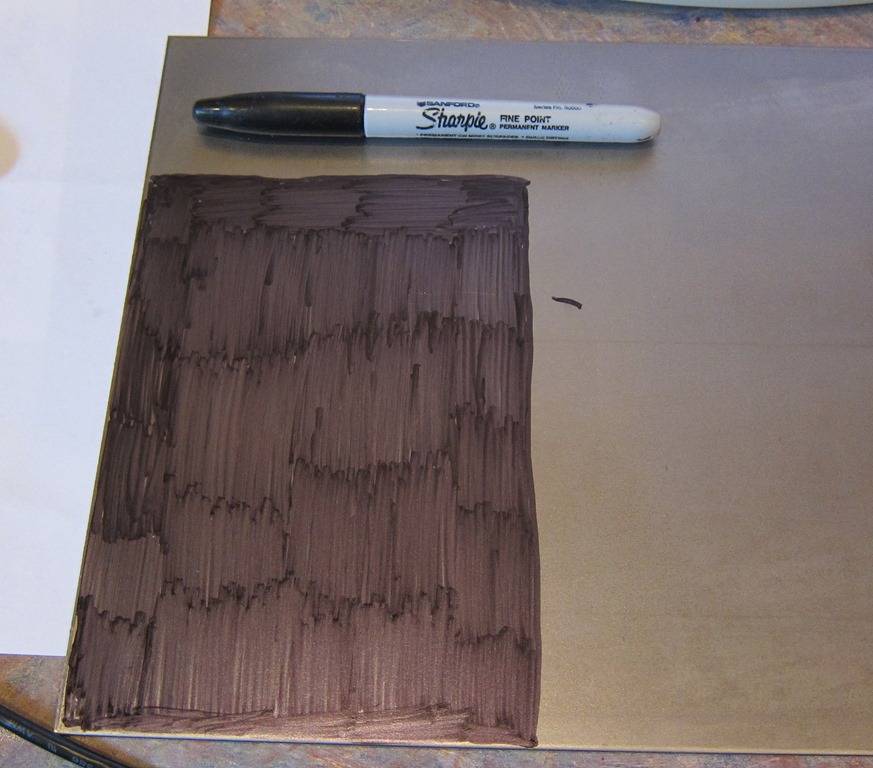
So, I grabbed a sharpie, applied it to a large enough area, and went out to the laser cutter to see if I could ablate it away.
It was an absolute failure, even at powers that would easily cut 1/8” wood. Not enough IR absorption to work.
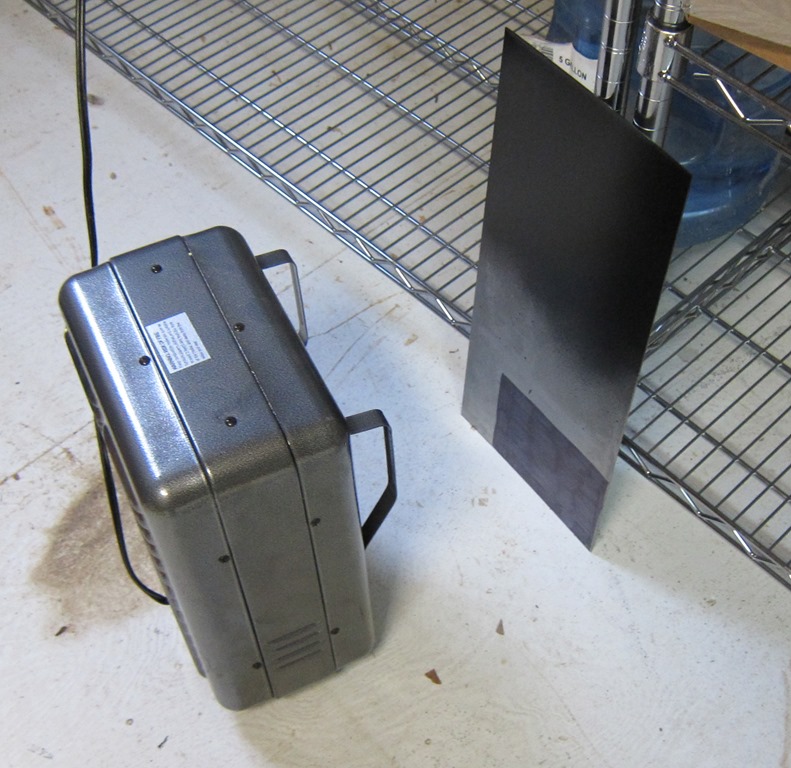
So, I grabbed a can of black spray paint I had, went outside, and put a nice easy full coat on the steel. And then put it in from of a heater to dry:
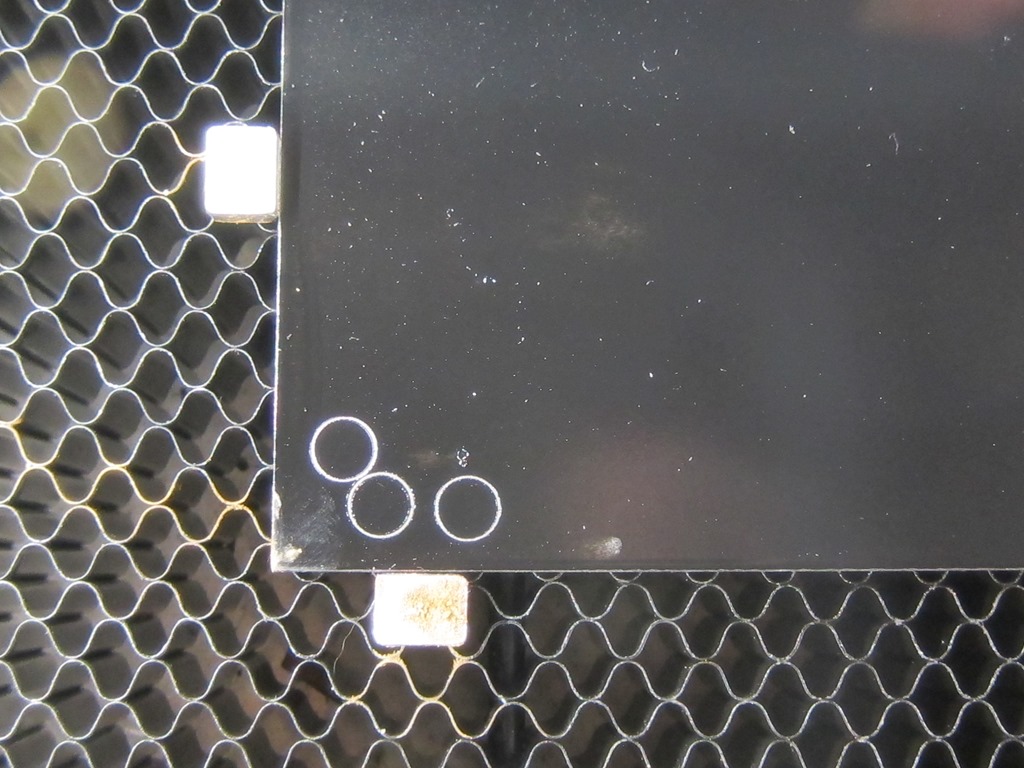
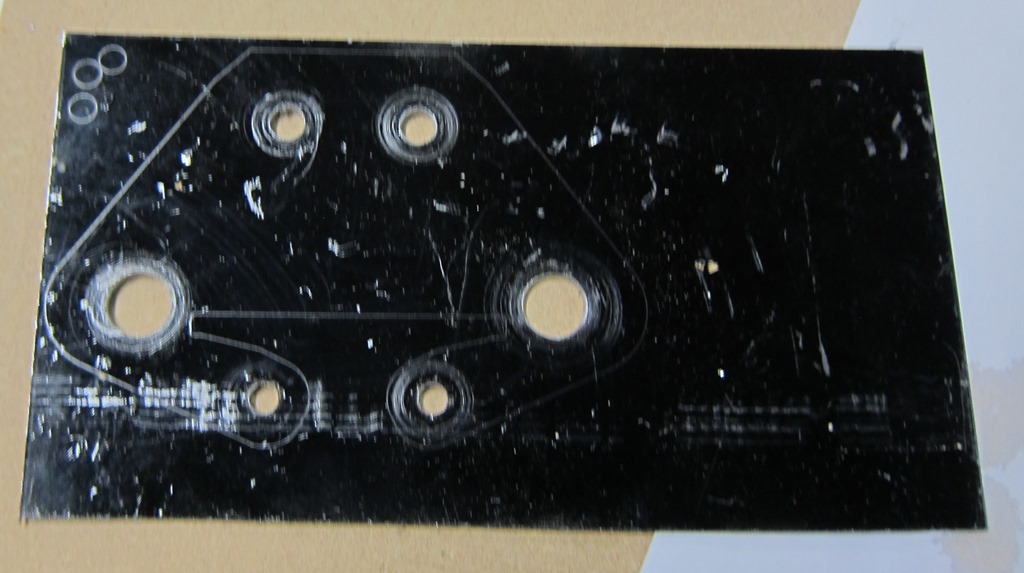
Then a few tests, and even at 25% power and my fastest speed, it still worked well:
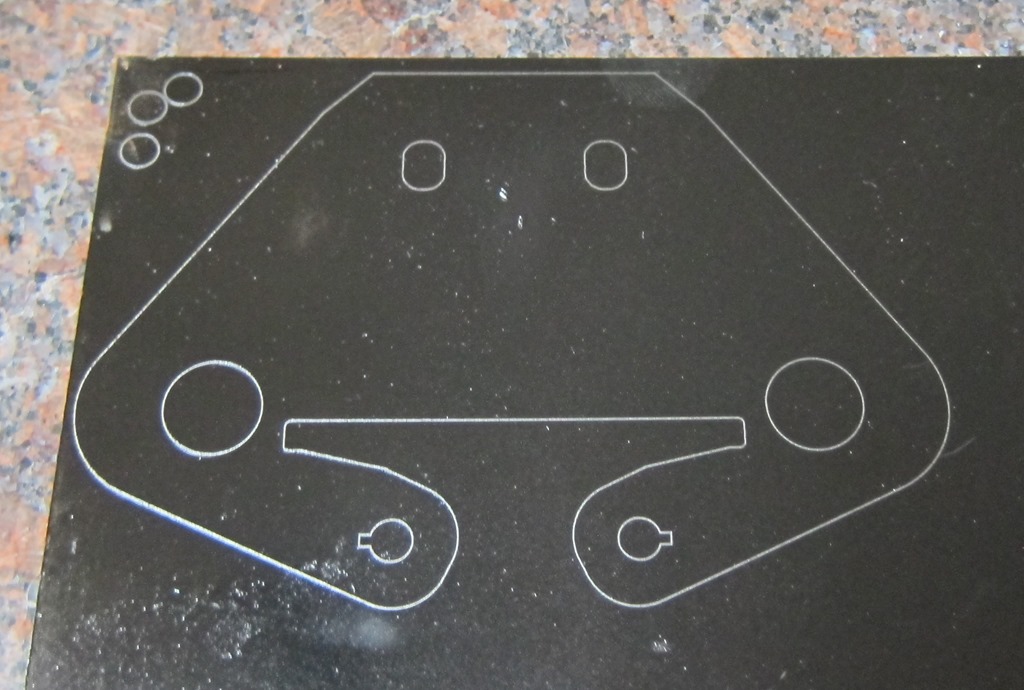
and ran the drawing:
Machining
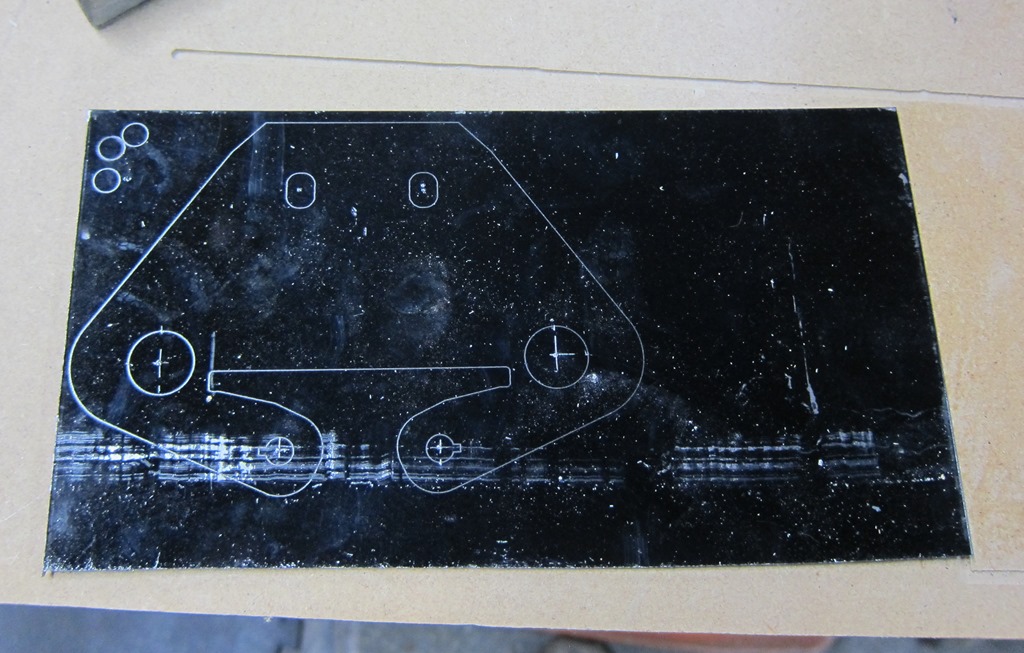
First, I cut off the part with the design and scraped the hell with the base of my jigsaw:
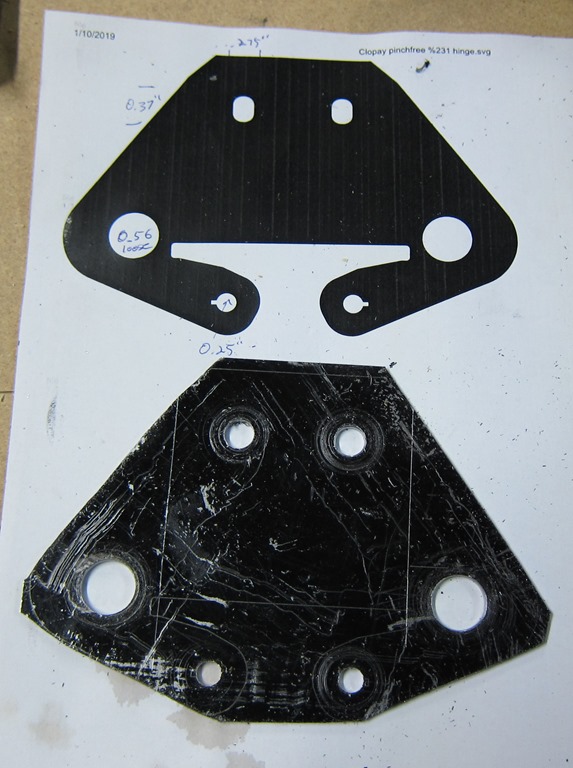
I cut the holes incrementally, starting at 1/16” and working my way up. I high recommend drilling them from the back, since if you drill them from the front the shaving will scratch off a lot of the paint.
Next, I cut the outline with the jigsaw. I also scribed on some bend lines that I will need later:
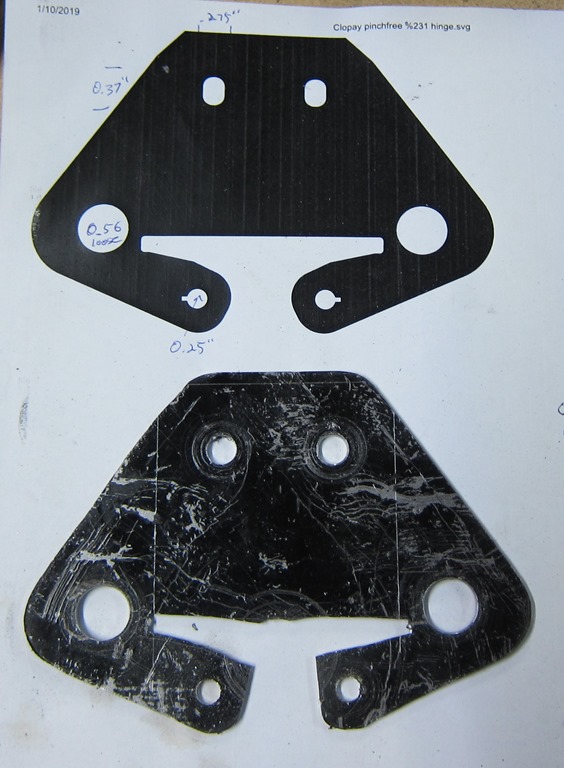
Starting to actually look like the drawing. I drilled a starting hole in the waste in the middle bottom, cut out the long sections with a jigsaw, and then rounded off the pieces with a grinder:
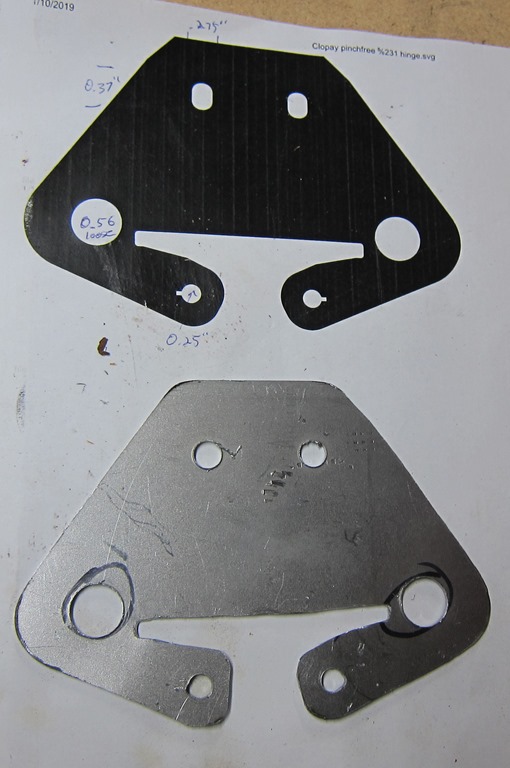
A bit more cleanup with an angle grinder and a dremel, and we end up with the following:
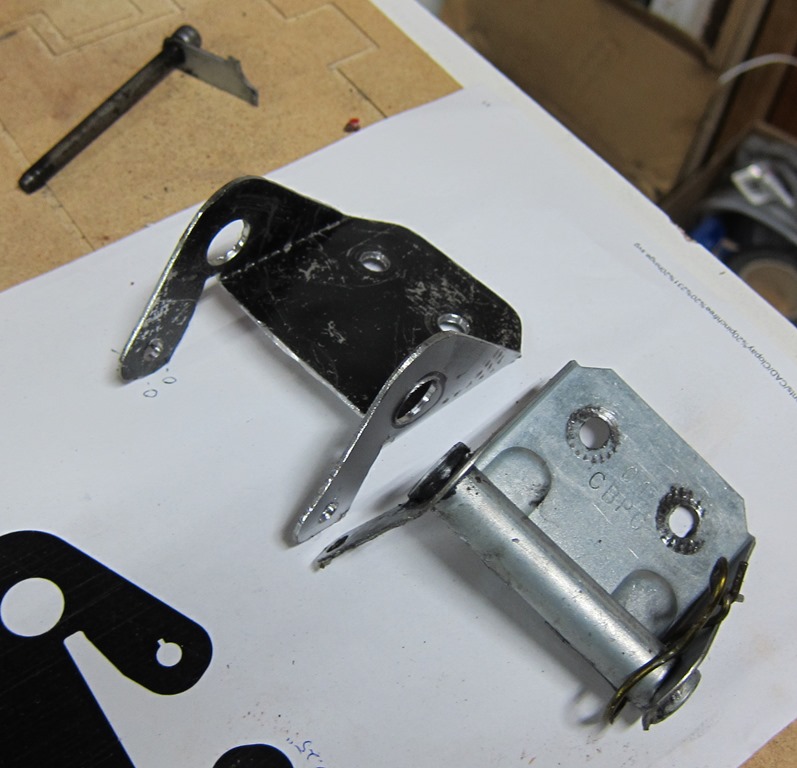
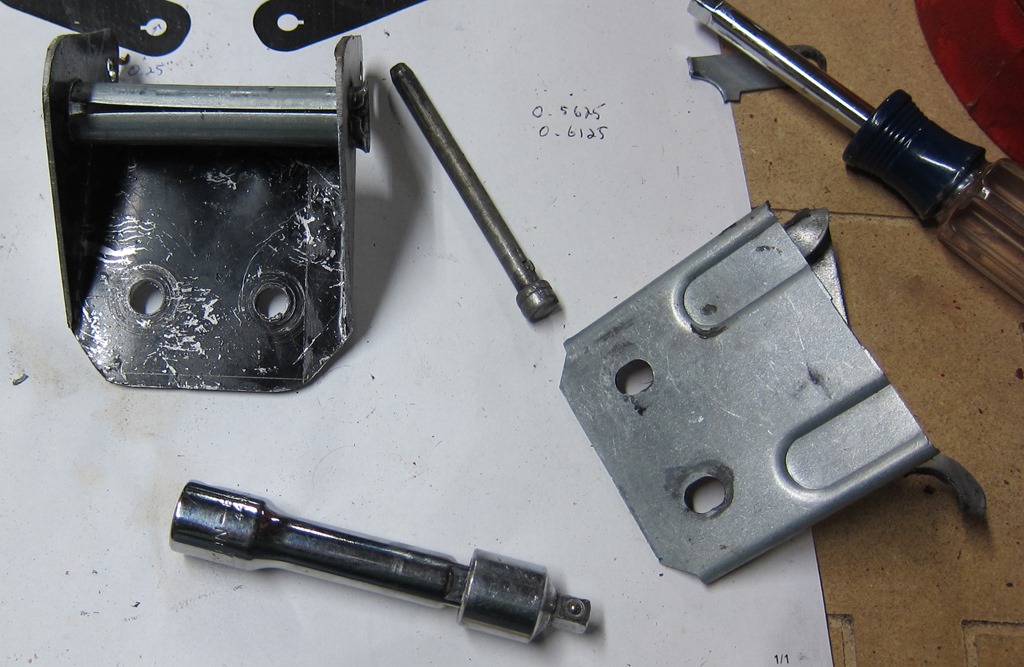
A couple minutes to fold the bracket and pull off the old one:
The final step is to take the tubular mount of the wheel and move it from the old mount to the new one. The tube is flared out; I unflared it by pounding it on the vice and then expanded it back out with a flared socket adapter. If I had a copper tubing flarer, that would have been a better choice. And, we’re done:
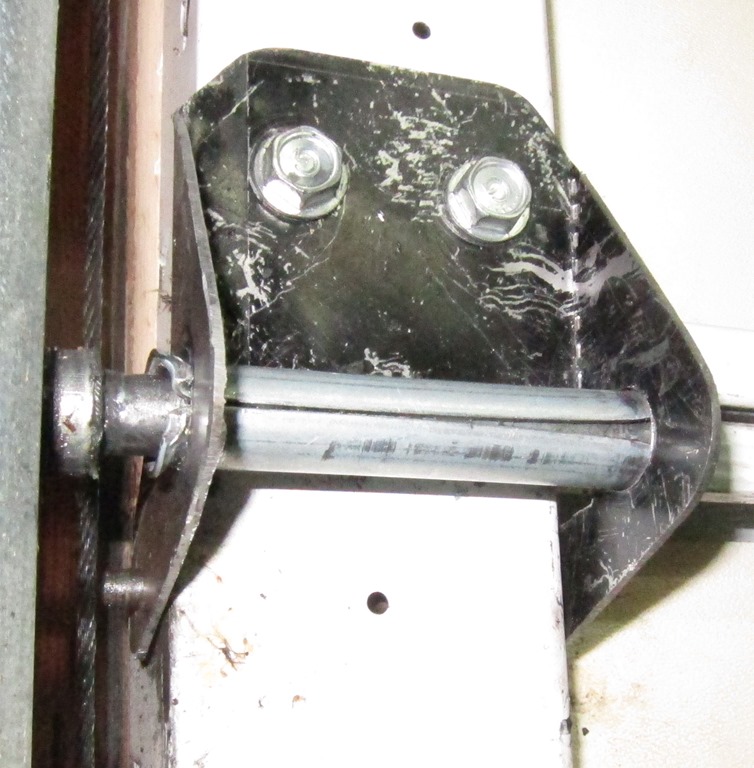
And the quick reinstallation:
On the left side you can see the end of the pin sticking out.



I need 2 of these number 1 hinges
Sorry for my slow response. I’m not planning on making any more, but you could take the svg file I created and have somebody laser-cut it out of metal for you. Not sure how much it would cost.
I would consider using oshcut.com or bigbluesaw.com
Hi Eric,
I impressed with your reverse engineering idea!
I have a couple of hinges broken as well. I’d like to make a few. Do you have a print or CAD files that you can give it to me?
I truly appreciate anything you can help.
Don
The SVG file is linked in the post; that can be used as input to any cad system.
The SVG file is linked in the post can’t be download. Can you please email to me at zekeydad@yahoo.com. Thanks in advance
Can the SVG file be emailed to me at Madbird@q.com
Brilliant work on your part. Çan’t say the same about Coplay as my door is 12 YO and their parts are made of unobtainium.
I do have some of these hinges available if anyone is interested. I have a limited quantity of the #2, #3 and #4 but I have a quite a few of the #00, #0 and #01 hinges. I don’t have any of the pins available anymore.
Very good news for those that are in search of the discontinued Clopay pinch proof hinges. Clopay finally responded with a solution to the proprietary hinges.
Directly quoted from an email I received from Clopay; “Thank you for contacting Clopay. Those are special hinges that went to a pinch proof door that has been discontinued.
We no longer supply those hinges, but you can replace them all with our 18 gauge hinge. You will have to replace all the hinges in order for your door to operate properly.
Our 18 gauge hinge part numbers are as followed:
01: 0120010
02: 0120020
03: 0120030
04: 0120040
05: 0120050 .”
Hope that helps! No need to have new hinges made. Just need to make sure all of them are replaced with the correct new 18 gauge hinges.
I do have these hinges available for sale and I can ship them out quickly with priority mail if anyone is in need. I just need to know the size of the door.
We are American Garage Door Co., Inc. and our phone number is 602-437-3300. We are located in Phoenix, AZ and have been in business since 1959.
Please feel free to reach out if there is anything more I can help with.
Regards,
Angela