
A somewhat belated present for my wife – belated because my Glowforge had to go back to the shop.
I wanted to do something chemistry-related for her. In the past I’ve bought her a few items like the MadeWithMolecules jewelry, but we all know that gifts that are handmade mean oh so much more.
So, I came up with a concept; a nameplate for her office with some sort of relevant compound on it, and ideally that compound would wrap over the top of her name.
The problem is that most organic compounds were either too complex or structurally inconvenient for the layout. I settled on dopamine, which looks like this:

Which is fairly simple, except that I wanted to show all the atoms, so it really looks something like this:
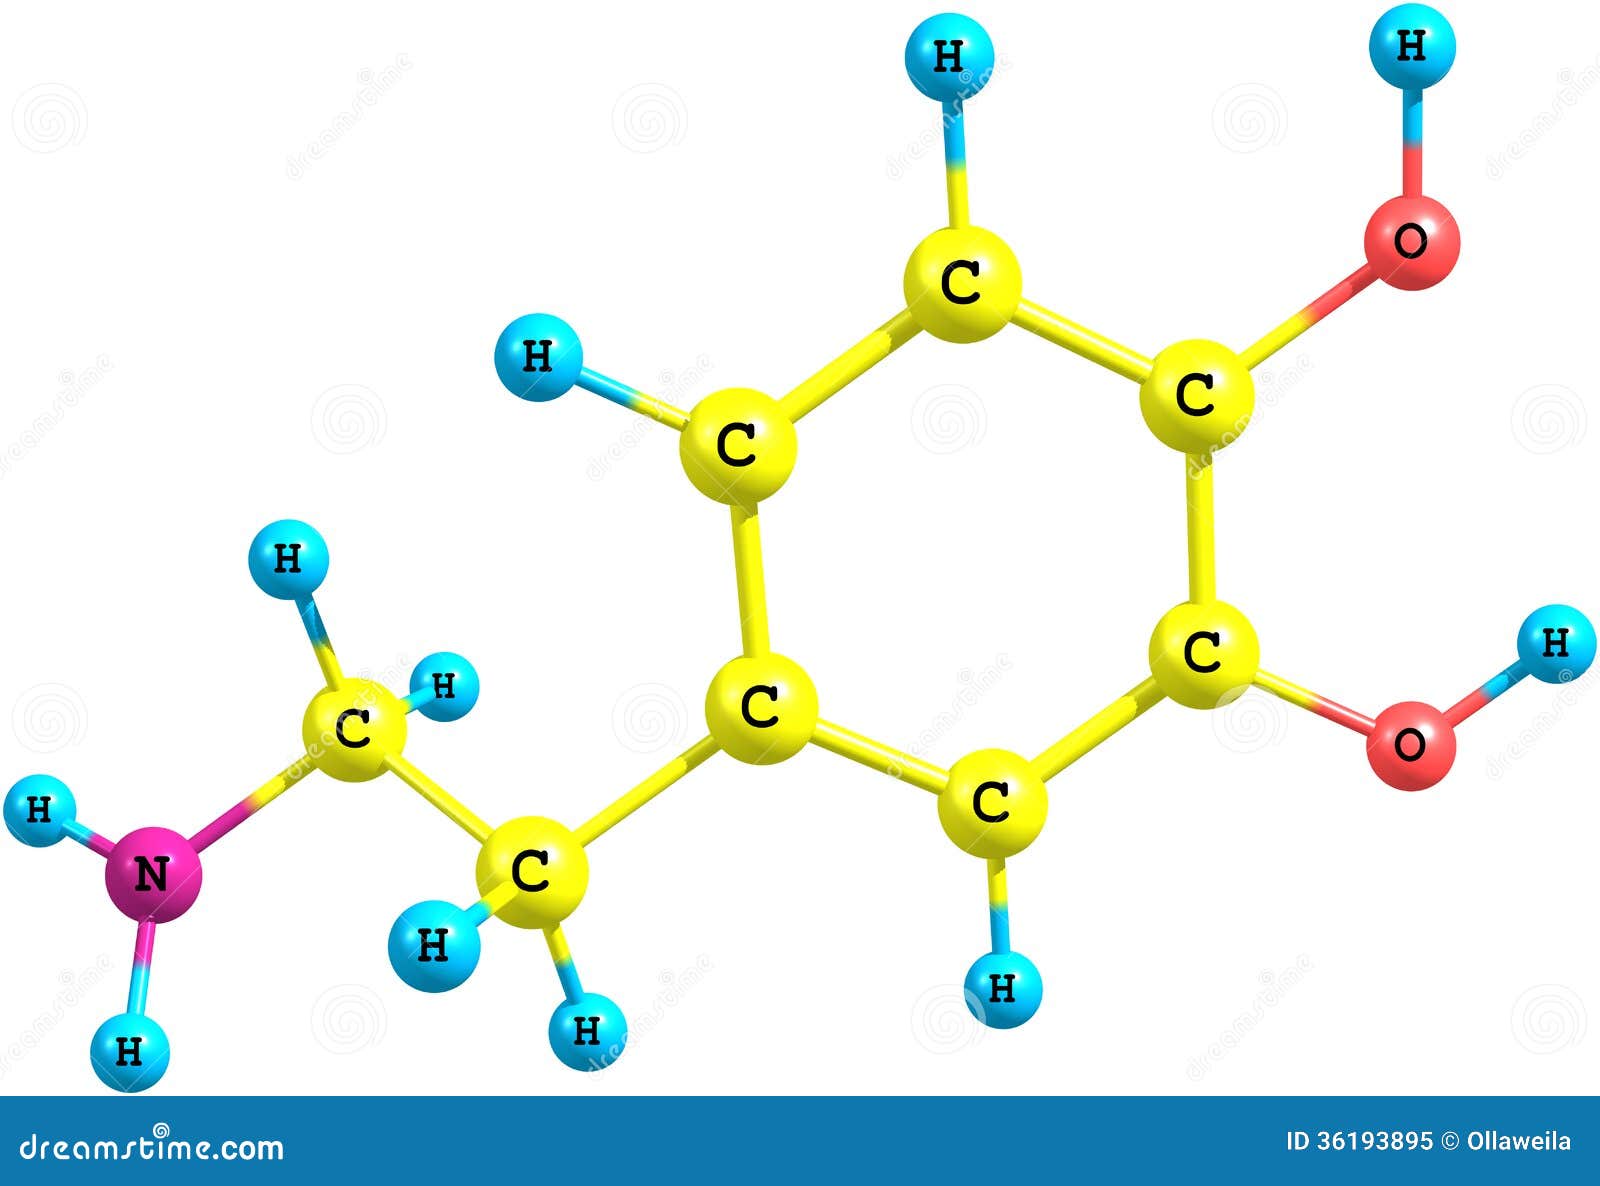
I pulled out Visio and started playing around to see if I could get a two-dimensional representation that worked. And I did a bit of searching to find out atomic sizes and expected bond lengths, so that it could be accurate – which is a bit silly given that it pretends that atoms are round balls, but you get the idea.
Here’s what I ended up with:

Where:
- Green = Oxygen (oxygen cylinders are green)
- Blue = Hydrogen (because water is blue)
- Grey = Carbon (it would be black, but the nameplate background is black)
- Nitrogen = Yellow (because I like yellow and it looks good against black)
The atomic sizes and bond lengths are as close as I could get them. The bond angles are also mostly right, except for the two carbon/hydrogen bonds at the top; you have to pretend those are a 3-d projection.
I did a laser test engrave of that on some cheap plexiglass, and that worked okay, so I ordered up some 1/8” cast acrylic for the final version.
Unfortunately, the acrylic I ordered had plastic film protection rather than paper protection, and that plastic melted into the acrylic when I went to etch it, so the results sucked. About this time, my Glowforge went into permanent “too cold” state, so it had to go back, and then there were the holidays…
I eventually finished the prototype and gave it to my wife, and we agreed on two things. First, it was a little too small, and second, the saturated blue I used for the hydrogen atoms was too dark. So, here’s the remake of the production version, starting with the acrylic straight off the cutter:

One of my challenges was figuring out how to paint it; a few tests showed that a brush was too big, and even a toothpick was too big; the bonds next to the tiny hydrogen atoms are *tiny*, and it’s important not to bleed paint from one area to another. I found some acrylic paint bottles, but they still had bit tips.
Finally, I found these:

These are syringes and tips that are sold as glue applicators. The tips are known as “Luer Lock” tips, and the twist right into the syringes. And this kit goes all the way to 25 gauge, which is *tiny*.
So, those showed up while waiting for the Glowforge, and then I had already purchased some acrylic paint from Michael’s:

If you are using the smallest tips, it’s pretty hard to suck paint up through them, so I used a big tip, pulled some paint into the syringe, and then switched to the smaller tip. It takes very small amounts of paint to do this; I have a lot more than I need here:

The technique is pretty simple; you put the tip into the corners and then carefully flow the paint into the corners to try to cover all of the walls in the paint, and after that you fill in the recess. I found that it made sense to work from different directions.
Partway through the name:

Done with white (the bonds were a bitch, as I expected). This would look better but I didn’t clean the fine gauge tips well enough after the first version, so the ones I wanted to use were plugged.

Done with paint. Those white spots are specular reflections from the track lights above my workbench

Dry paint.

And, finally, after the backing is removed:

The coloring isn’t perfect; there are some spots where the black shows through, and in this light you can see the texture the laser cutter left. But overall, I think it’s pretty good, and it looks better in real life than in this shot.
I really love this! I will try your technique to make key chains. Thank you for posting!!