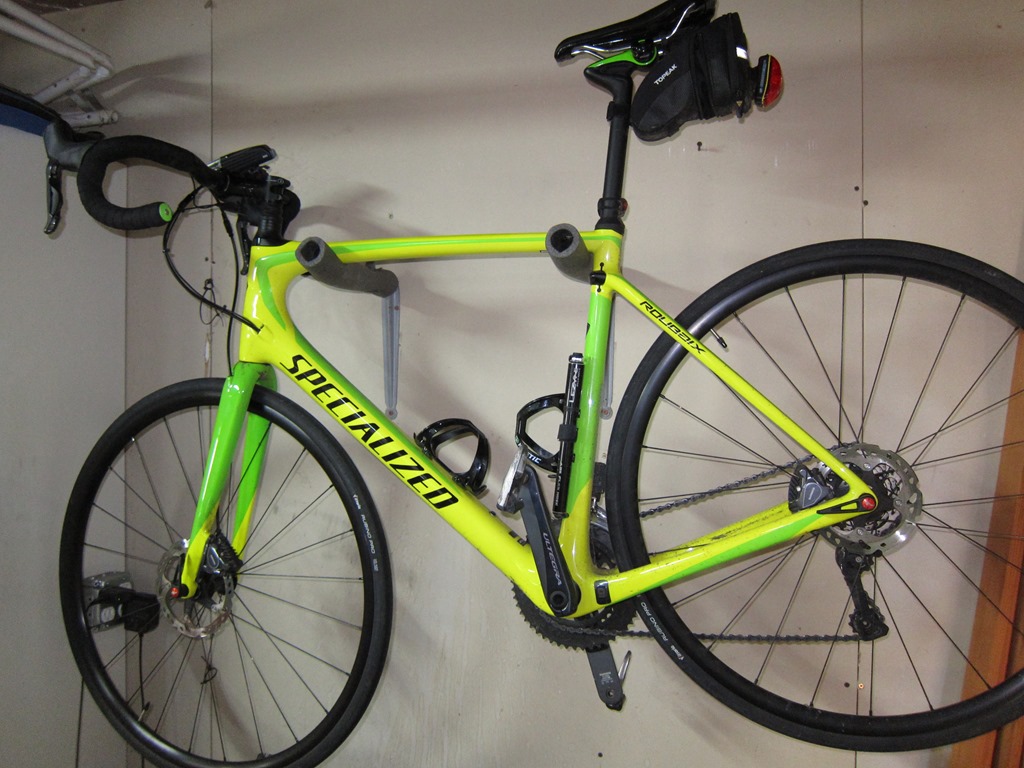
My nice bicycle currently hangs on two old shelf standards that are screwed into the wall, with some foam on them to protect the frame.
It works, but the foam has seen better days and if we got a quake, it could easily shake off the ends.
It’s time to build something a bit nicer, so I dug out some leftover hardwood plywood I have (maple, I think) and spent a little time with Fusion 360, and came up with the following design:
This is a render in oak. The holes are 16” apart so they can screw directly to the studs, and the hangers are a bit closer together so it’s easier to hang the bike with batteries on it. The arms that hold the bike have two hefty tenons that stick all the way through the back piece.
Off to the garage to use the Shaper Origin…
Cutting
The cutting mostly went pretty well, but it took longer than I expected and I worked past a point of being too tired and therefore had a couple of issues. I’m using a piece of maple plywood that I had lying around that is unfortunately not very wide, so I had to put some auxiliary pieces off to the side with shaper tape on them so that it could figure out where it was. This mostly worked, until I got to the last cut on the last piece, and partway through I bumped my setup and that piece – which was partly clamped but not correctly clamped – moved.
That is *bad*; the shaper throws up a big banner that says “the markers have moved and you are SOL”, or words to that effect. I tried a cut after that, and they were right, so I finished cutting through with an abrasive disk on my dremel and cleaned up with a little sanding drum.
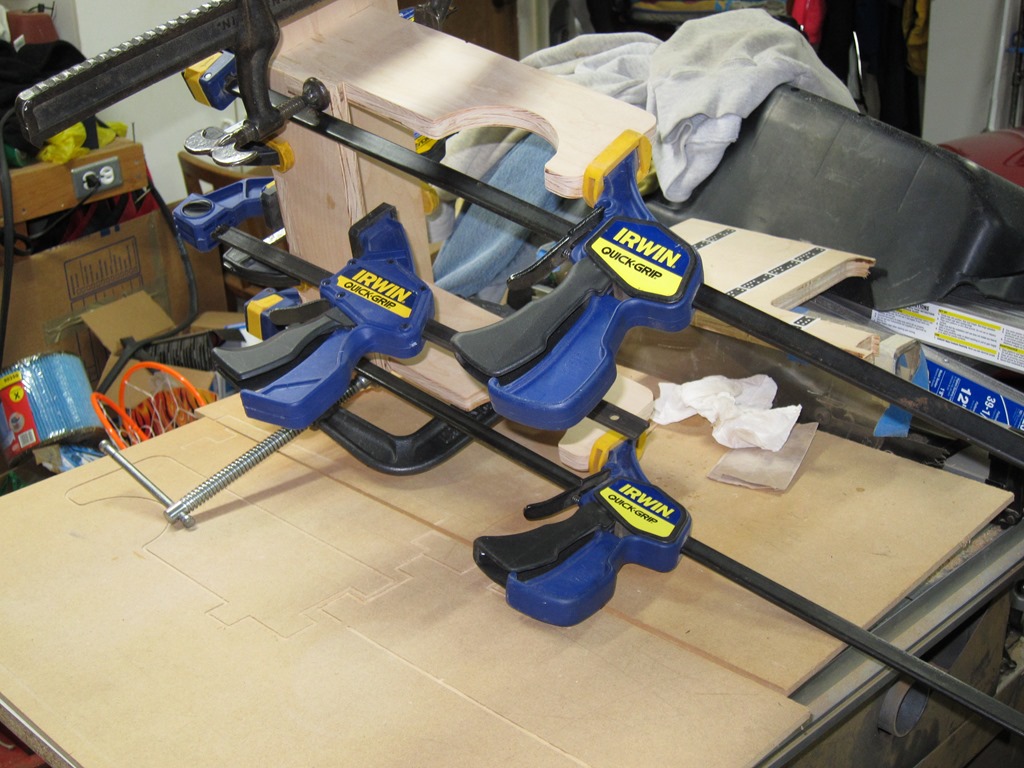
A little sanding, and it was time for gluing and clamping. The nice part of the holes and tabs approach is that there is a ton of surface area, so lots of material for the glue to grab onto. It’s probably strong enough with the glue because of the way the geometry works; the arms that hold the bike can only pull straight out, and even that is difficult. So, no fasteners required, but a lot of clamps.
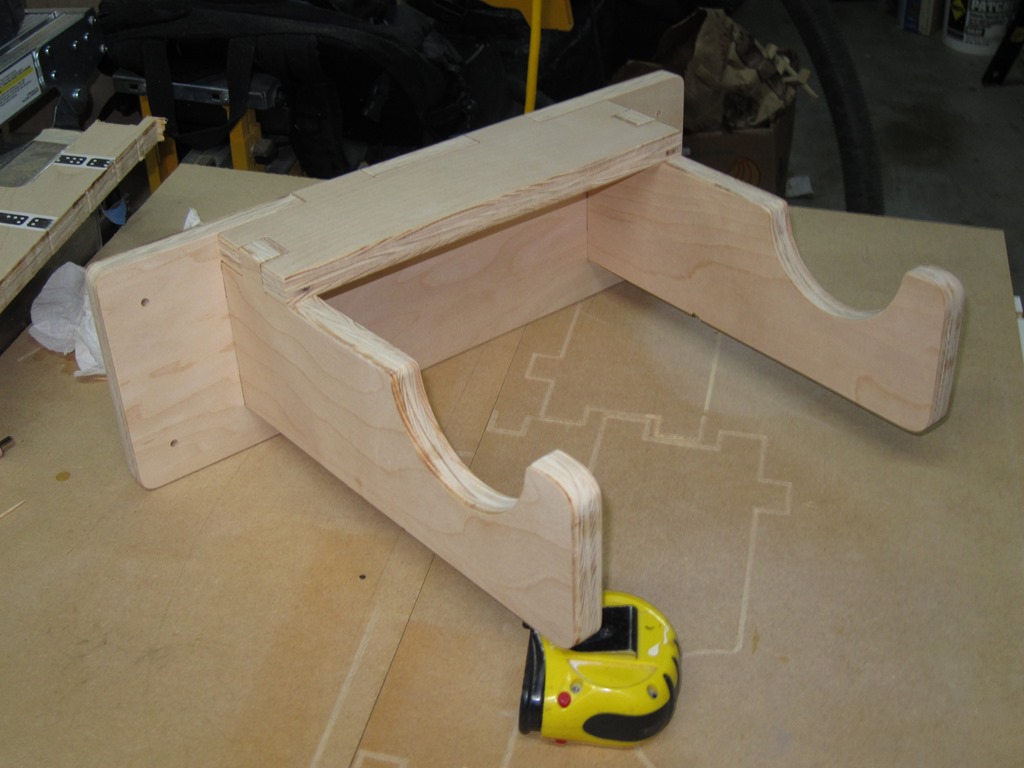
Give it 4 hours for the glue to set, and we are left with this. The dark coloration looks like a burn but is really just the plywood.
Overall, it came out mostly okay; in some places the fit isn’t as tight as I’d like – which I attribute to some wiggling because of how I did the cutting – but it’s more than functional.
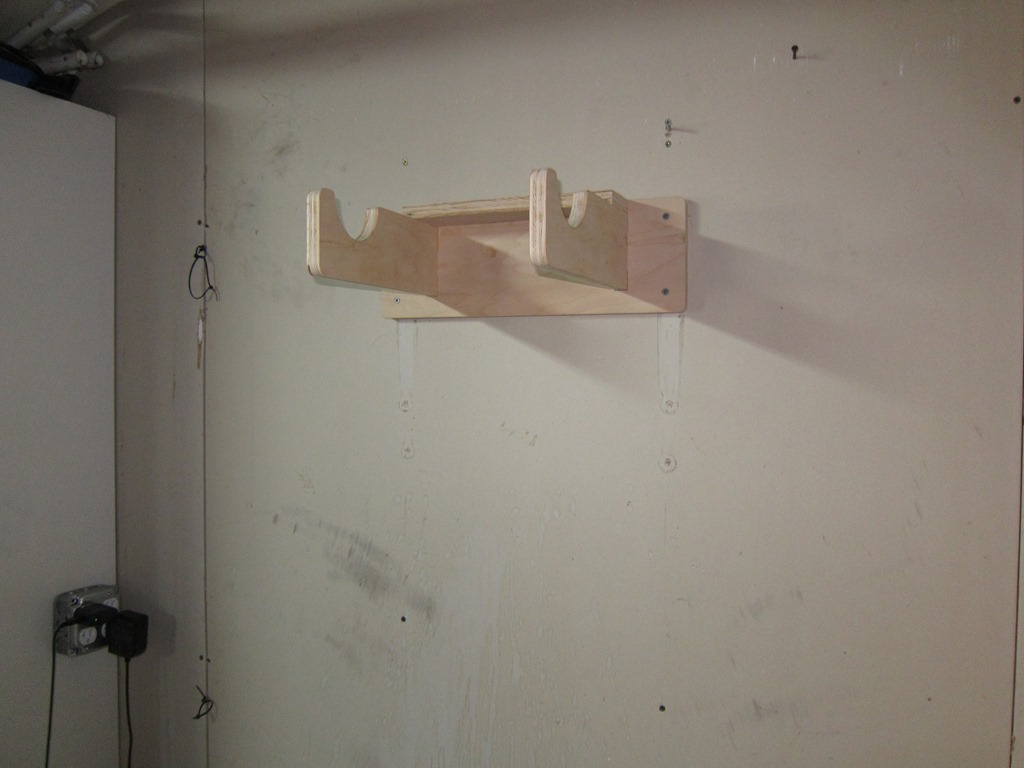
Four 3” screws to mount it – yes, that’s overkill, but it’s so easy with an impact driver…
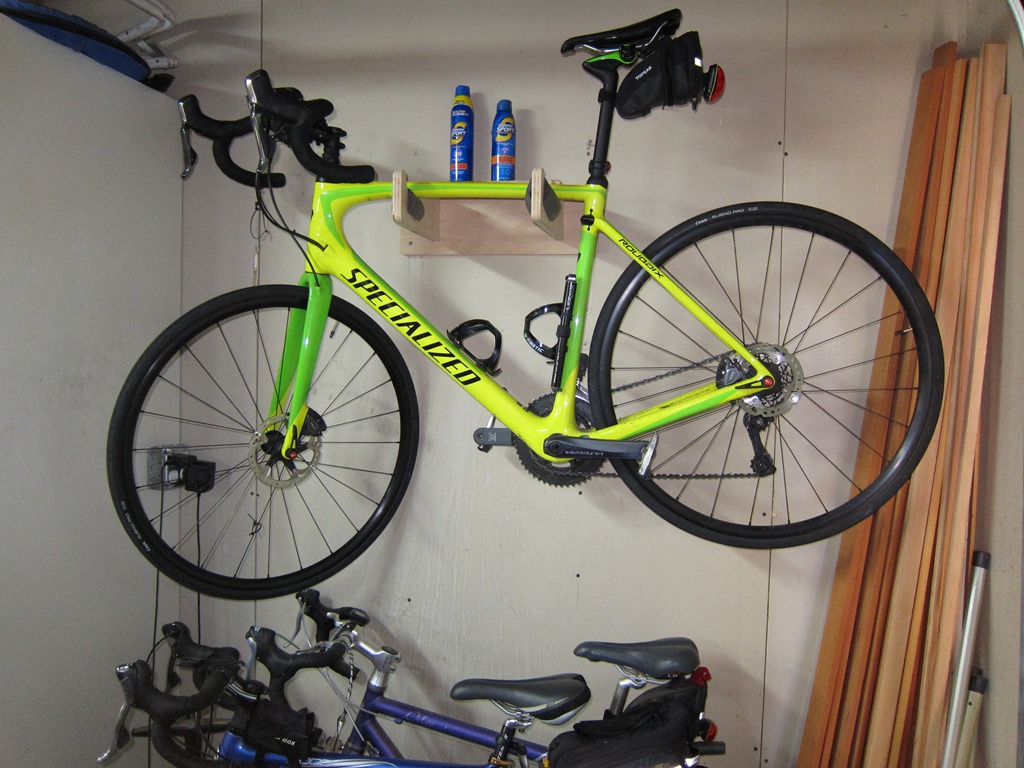
and we’re done. I’m hoping the sunscreen shelf will help remind me to use it before I leave. I used some short pieces of the foam from the old holder to pad the new one.


So, what do you think ?