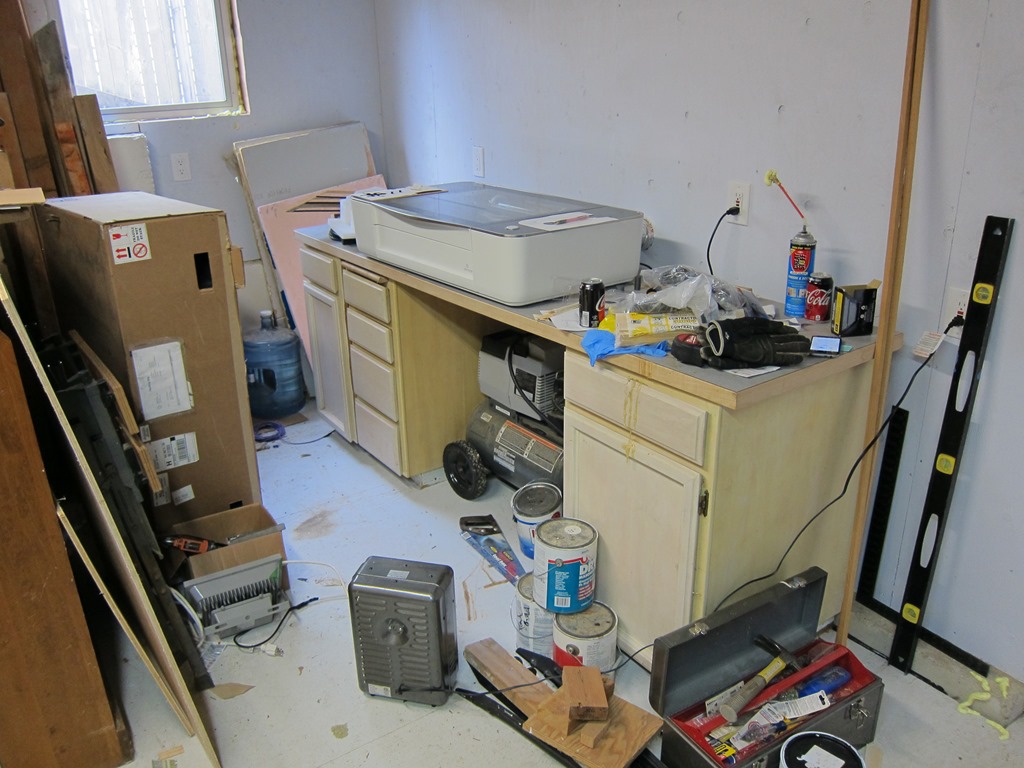
My glowforge lives in a workshop I have that I’ve been working on fixing up. The workshop was bare studs but now it has plywood walls and some improved electrical.
As you can see, it’s sitting on top of some old and tired cabinets that I don’t use for storage because they don’t work very well, and a counter that sags in the middle. I need something to be better at holding both the glowforge and the other stuff I want to do down here (in particular, I need a place I can put a reflow oven for some electronics projects).
My initial thought was to price out some replacement cabinets and a countertop, but that quickly started looking like $800 – $1000 for the cheap stuff. So, what other alternatives could I use?
I was inspired by Mike’s table in this forum post:
That’s just a cheap home depot storage rack, only using part of it. I found a rack that was like it at Home Depot, and it was only $60:
But… It was only four feet wide, and I wanted some space to put my laptop and other stuff next to the glowforge. So, I started looking for racks that were wider but still 24” deep. The ones I found were a lot pricier; something like $150 or so.
Time passed, and I ended up on Costco’s website, and decided to search there.
What have we here? 60” wide, 24” deep, and a full 72” tall. $170, so not super cheap, but pretty close to what I wanted. I could put four shelves at the bottom for flat goods, and then one shelf at the top, and the glowforge would be at waist height. And wheels if I wanted them.
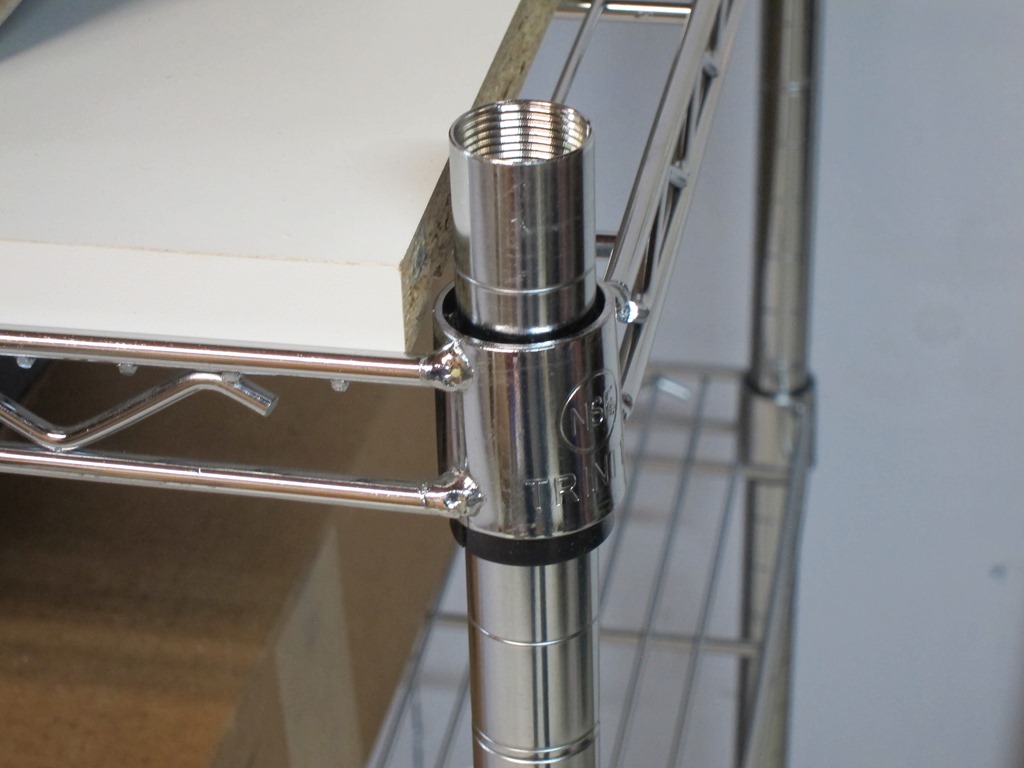
It took about a week to ship, and the box it showed up in was heavy. 104 pounds heavy. I dragged it off the front porch and into the garage, opened it up, and found that it was just what I expected. 5 shelves, and – to save on shipping costs – the corner posts come as two sections that screw together. I did some measurements, and realized that if I didn’t use the casters (it comes with both casters and normal feet), the length of he bottom posts was almost exactly counter height, which meant I could do a build that was pretty much at counter height.
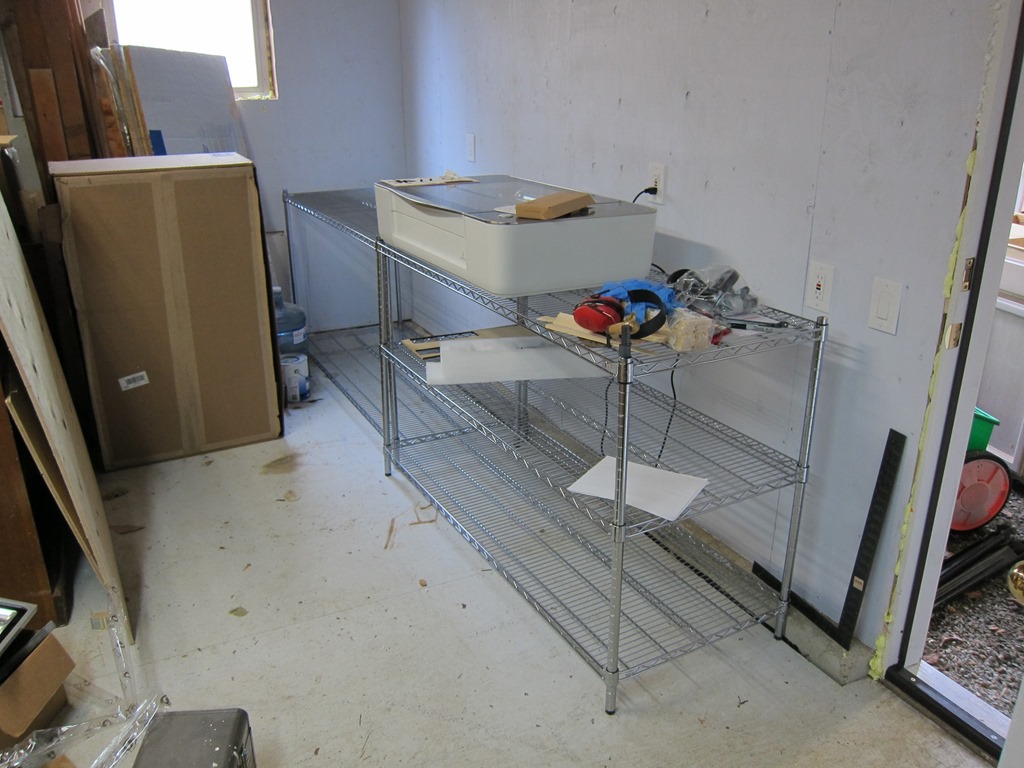
And… if I only used 3 shelves on that, I could use the remaining parts – the upper posts and other two shelves – and build a second countertop-height system to go next to the first:
So, that $170 got me two counters – one to hold the glowforge, and one to hold whatever else I want to put next to it. But if you didn’t want the second counter unit, you could easily put the other two shelves on the glowforge part and get a lot of storage for flat materials. And have it on wheels if that is useful for you.
There was only one problem. Wire shelves aren’t the nicest things to put stuff on as small items fall through the openings, and you can’t write on them either. What I needed was a countertop to go on top. There are a few options:
- Buy one of the ikea countertops – like this or this – and trim them down. I would need two in this case, and that would be another $120. Decent idea, and I like the black look. So yes for fancy, but no for this setting.
- Buy a full sheet of melamine. My lumberyard will sell me a 48” x 96” sheet for $35, and that would do both counters with some left over. Downside is that the 1/2” sheets are about 65 pounds and a bit of a pain to transport. And the exposed edges aren’t white.
- Buy some pre-drilled shelf panels. These are meant to be used for the sides of cabinets with shelves in them. $38 each, and I would need two of them.
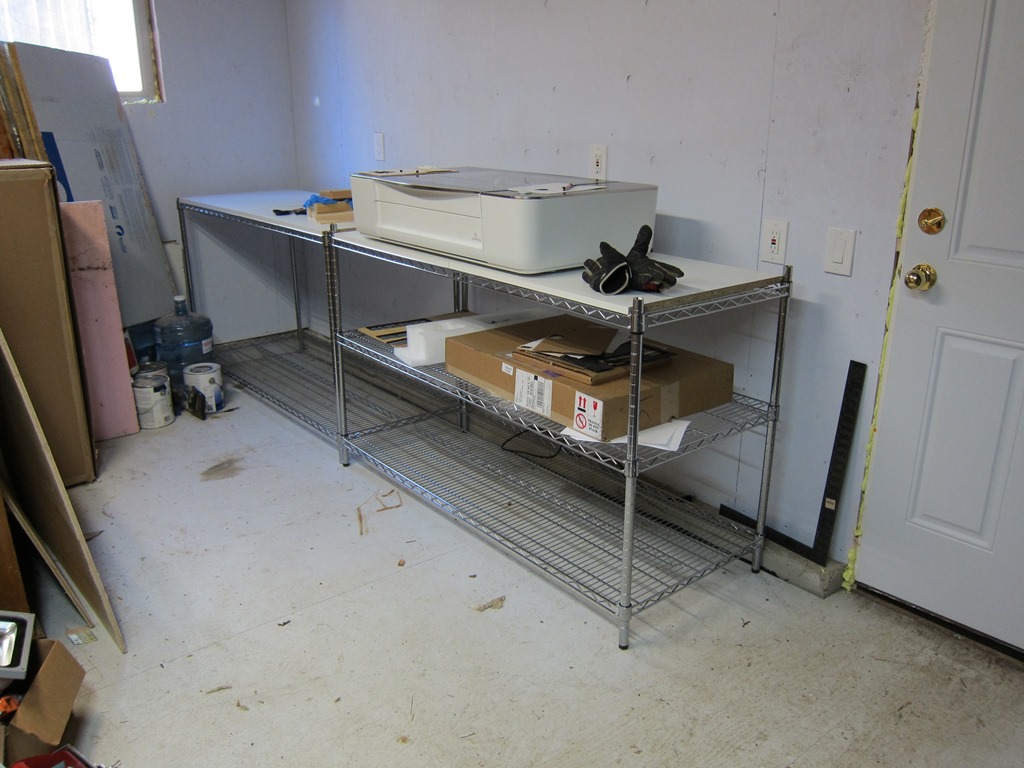
I was going to go with the big sheet for $35, but then I got to looking around and remembered that we had some extra Ikea shelves hanging around. They are about 29” x 24“, so I’ll just need to trim a bit off of them to make them the right depth (if they are trimmed to 23.5” they will fit between the front and back wire sections and not slide around). When I went and did that, I found that two of the shelves are almost perfect in length between the posts, and everything looks quite tidy. Here it is.
Plenty of space for a laptop on the right side, lots of storage for stock underneath. I might build some vertical storage on the left side; not sure yet.
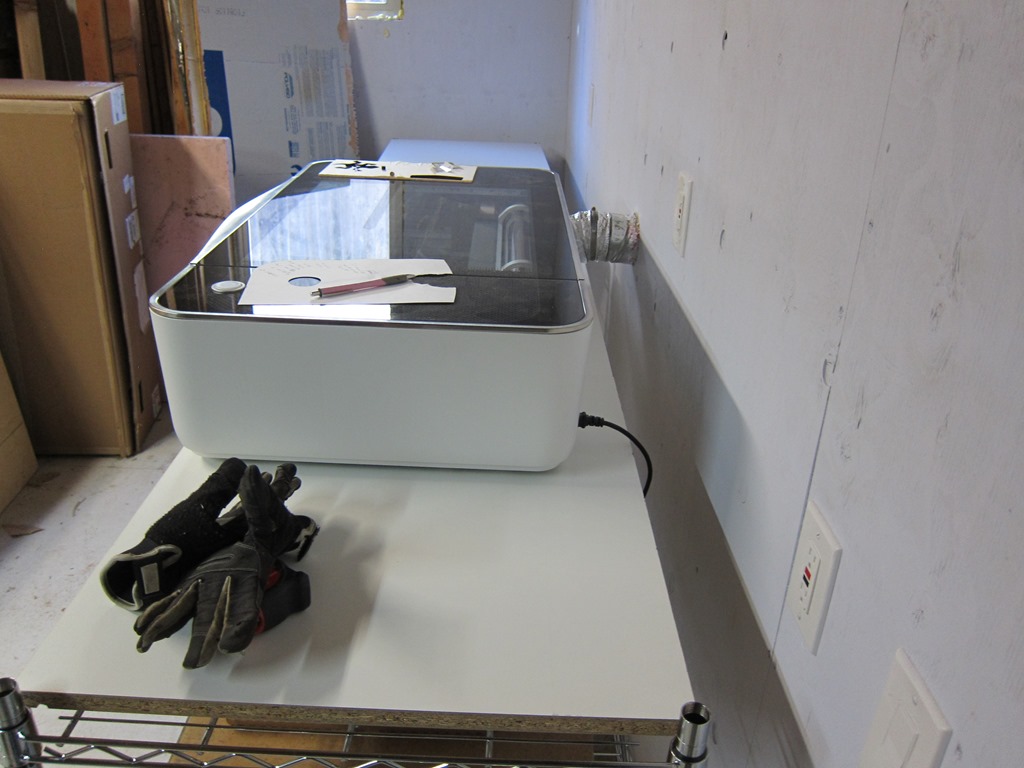
The shelf is plenty deep; I have mine towards the front to make the exhaust fit better. What I really need to do is trim a couple inches off the duct.
If you are going two countertop-high units, you’ll want to drop the first one down one inch so that everything is level. It looks like this.


So, what do you think ?