In our previous episode, we had just finished cutting the hub portion of the station.
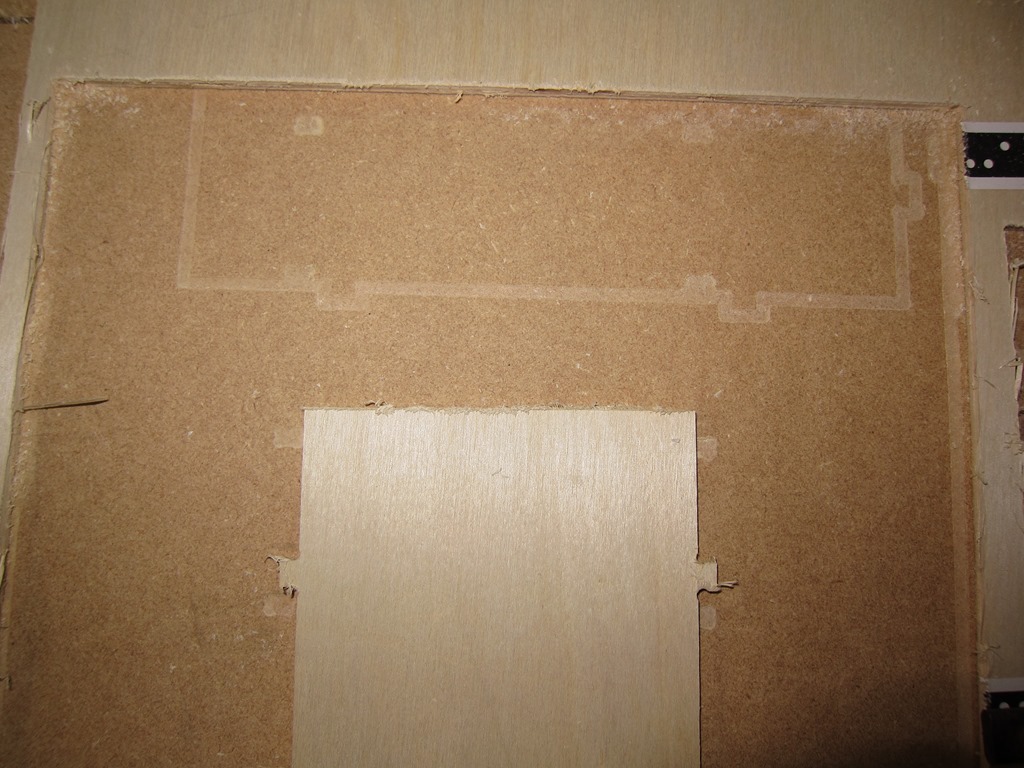
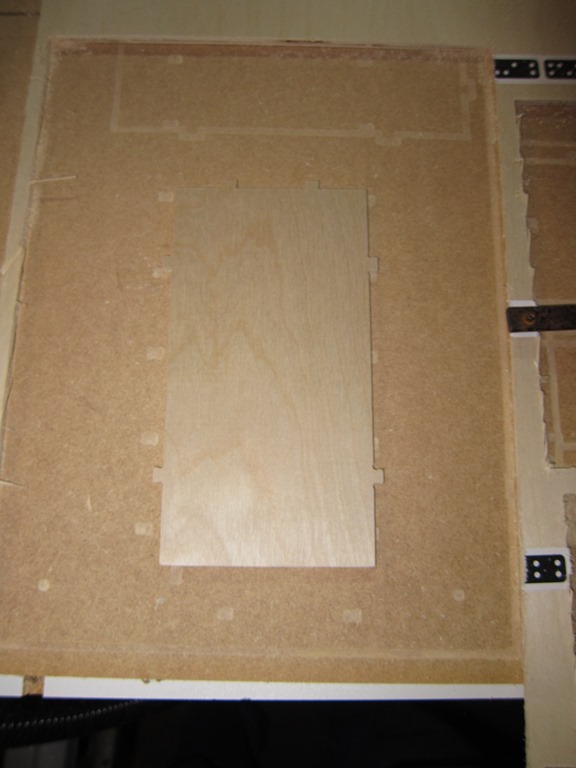
Now, it’s time to cut the remaining parts. I started by cutting the biggest part – the base. It’s about 8″ x 10″, and it has 17 slots in it and 4 holes, and each of those need to be cut in two passes. I decided to cut all the interior holes first in two passes, and then cut the outline. So, I started at the bottom and cut about 13 slots, and then I found that there were four slots missing.
When somebody added shelves to the design, he forgot to do the cut operation with the new shelves, so there were no holes there. Which means that the design needs to be redone, and since shaper doesn’t support an “update my design” operation, I had to abandon that section, though I did manage to cut a shelve out of it so it wasn’t a total loss.
The rest of the cutting was pretty repetitive. The shaper mostly worked okay, though it crashed a number of times and hung a few times as well. The back has 7 holes and a bunch of tabs and the shaper crashed on the last cut. Then I rebooted and found that both the workspace and the placement information is stored in non-volatile memory, so as long as the crash doesn’t damage your workpiece, you can continue.
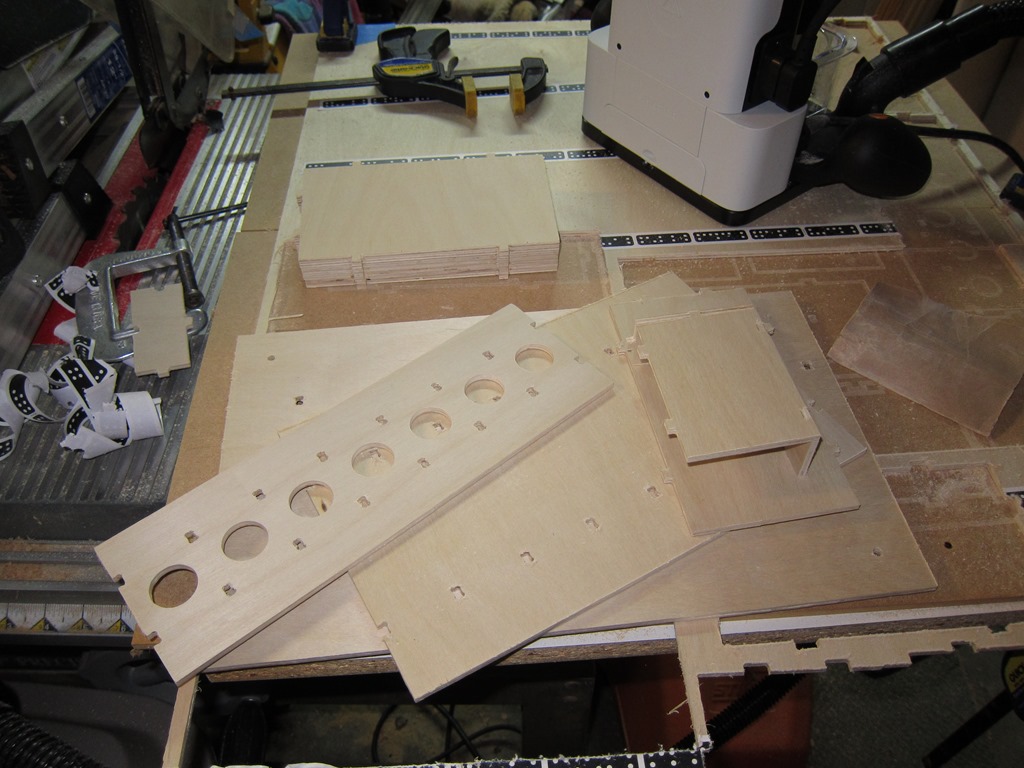
Eventually, I finished cutting all the pieces, and started cleaning them up:
The shaper uses an upcut spiral bit so that it can easily pull the sawdust out; that cuts well, but leaves a fuzzy edge to the cut. I tried an offset technique where you do the initial cut a bit to the outside of the final line and the second cut right on the line, but the results weren’t any better. I’m going to explore whether a nicer bit would give a better result, but the result here is really worse than it looks. A couple of minutes with some 220 grit sandpaper and it cleans up nicely.
A bit more time for cleanup, and I had a bit pile of parts:
So, is this going to actually work, or was all that effort for naught?
Well, guess what?
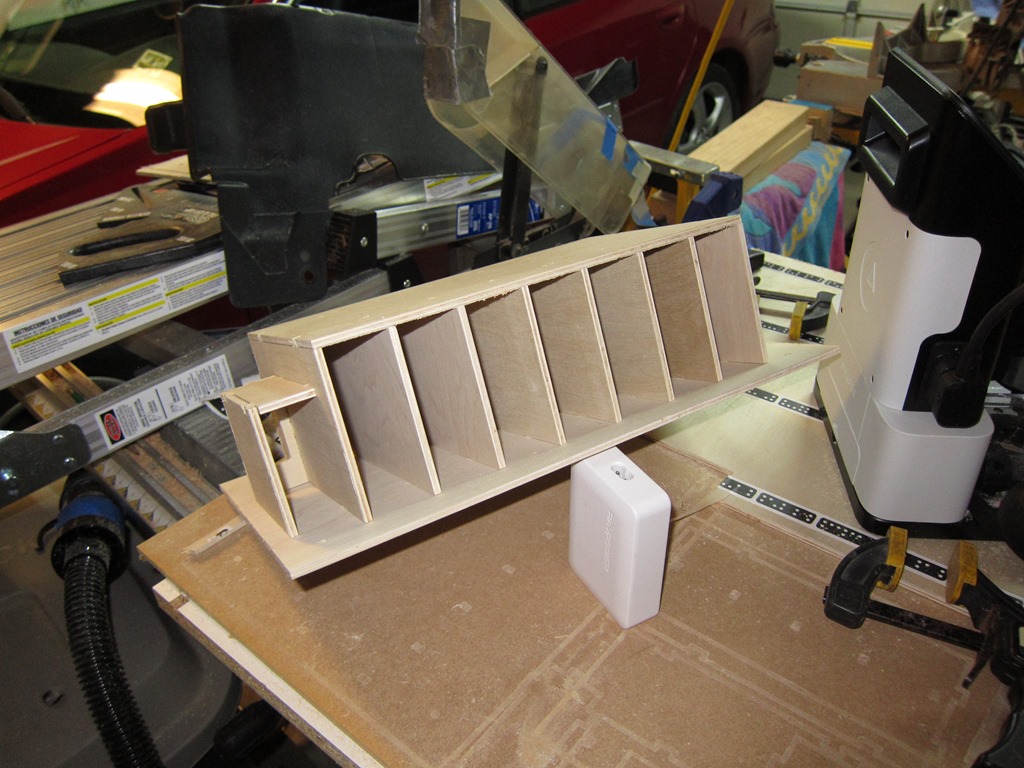
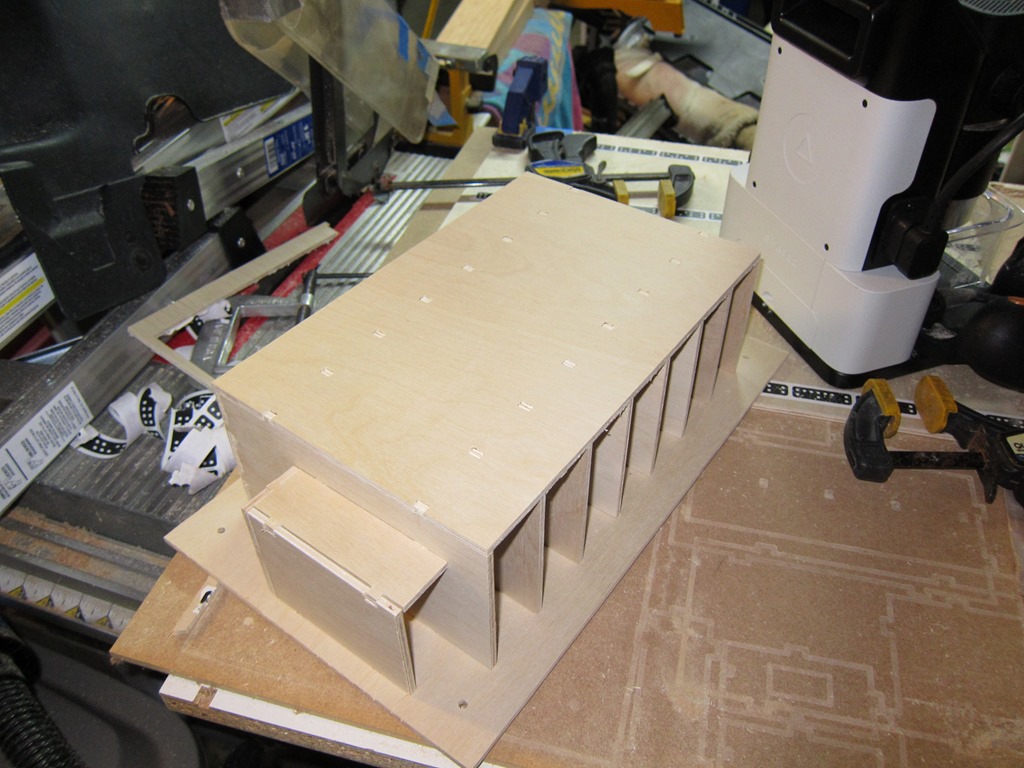
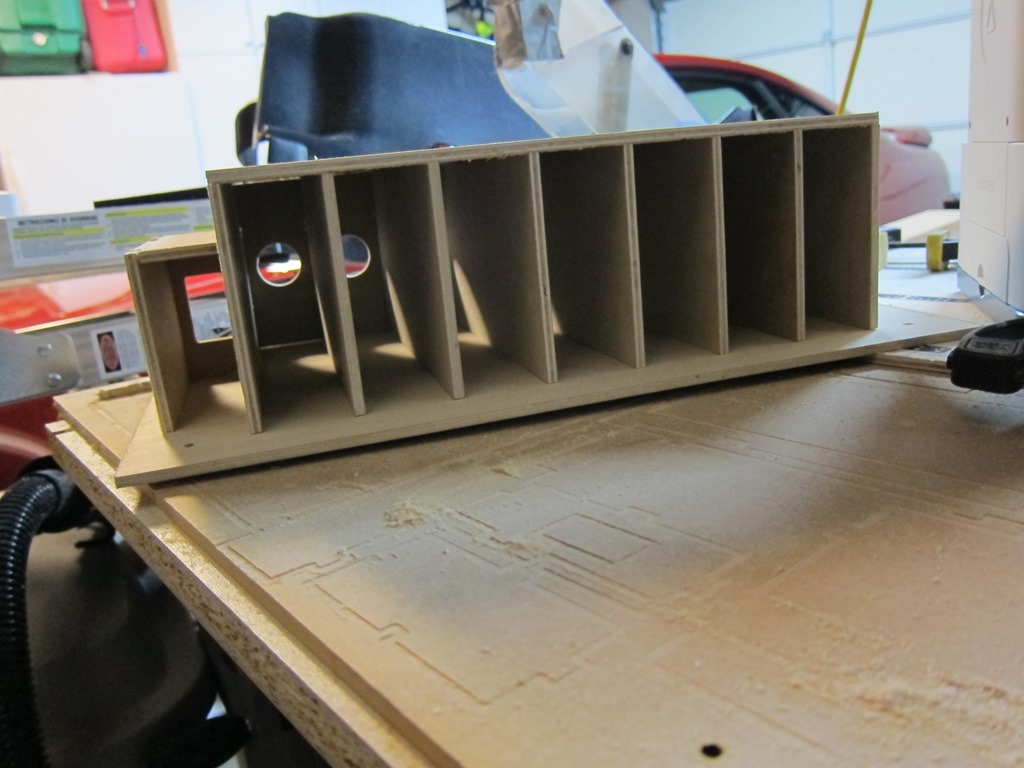
The fit of the tabs was very nice and it looks pretty good even without any glue to hold the parts together. Success!
Next up is to look at all the joints and do a bit more tuning on the fit, especially on the hub holder in the left of the last picture.

So, what do you think ?